
Are you fed up wandering around in the quest for that perfect mold for your next creative projects? Learning how to make your silicone mold can motivate you to craft unique items according to your specific needs.
Baking, crafting, or doing DIY projects calls for that ultimate accomplishment and adds yet another skill to open up your possibilities to an endless extent.
Steps to make a silicone mold:
- Gather your main object, mold box supplies, and liquid silicone.
- Put the main object firmly inside the mold box.
- Mix the silicone, then gently pour it over the object.
- Get rid of any air bubbles
- Let the silicone fully harden as instructed.
- Remove the mold, carefully take out main object. test the mold.
In this tutorial, we will guide you through the step-by-step making of your very own silicone mold. All the materials and tools you'll require, along with some tips on how not to make that common mistake, let's dive into the interesting information.
Part 1- Materials and Tools Needed to Make Your Silicone Mold
Before starting the making of the mold, you need to have some necessary items required. These tools will make your process smooth and a success. Following are the materials and tools you will need:
| Item | Purpose | Example/Notes |
|---|---|---|
| Silicone Rubber | Forms the mold | Use mold-making specific silicone |
| Mixing Cups | For mixing the silicone | Disposable or reusable options |
| Stir Sticks | To mix the silicone | Wooden or plastic stirrers |
| Release Agent | Prevents sticking | Apply on the object being molded |
| Object | The model you’re copying | It must be clean and stable |
| Scale | Measures silicone accurately | Use a digital scale for precision |
| Protective Gear | For personal safety | Gloves, goggles, mask |
| Weights/Supports | Keeps the mold steady while curing | Use small, heavy objects |
| Plastic Wrap | Covers surface to prevent mess |
Optional |
Part 2- Guide to Making Your Silicone Mold at Home
You can easily make a silicone mold of your own. It may look like a tricky task, but it surely is not. We have a basic and helpful method for you that will result in a beautiful and durable silicone mold. So below are the steps in making it:


Step 1: Prepare Your Workspace
Choose a well-ventilated area and, in preparation for taking away from work, put plastic on all your surfaces and gather all necessary materials.
Troubleshooting Tip:
Ensure your workspace is level to avoid uneven silicone curing.Estimated Time:
10–15 minutes

---------------------
Step 2: Prepare the Original Object
Clean the object that you want to duplicate and apply a release agent so it will come off easily.
Troubleshooting Tip:
Use a soft cloth to clean delicate objects to prevent surface damage.
Estimated Time:
10 minutes

---------------------
Step 3: Mix the Silicone
Mix silicone in a mixing cup according to the manufacturer's instructions. Let it mix well and become uniformly consistent.
Troubleshooting Tip:
Mix slowly to avoid creating air bubbles. Tap the mixing cup on a hard surface to release trapped air.
Estimated Time:
5–10 minutes

---------------------
Step 4: Pour the Silicone
Pour the mixed silicone slowly into the original object, allowing it to drizzle on every surface. Pour from height to minimize air bubbles.
Troubleshooting Tip:
If bubbles form, use a toothpick to pop them or gently tap the mold on a surface.
Estimated Time:
5–10 minutes

---------------------
Step 5: Add Weights
If required for stability while curing, add weights on all sides of the mold. It will surely be helpful if required.
Troubleshooting Tip:
Ensure the weights are balanced to prevent tilting during curing.
Estimated Time:
5 minutes
---------------------
Step 6: Curing
Cure the silicone according to the manufacturer's instructions. It would be from a few hours to a whole day.
Troubleshooting Tip:
Keep the mold in a stable-temperature environment to ensure even curing.
Estimated Time:
4–24 hours

---------------------
Step 7: Demolding
Peel off the silicone mold carefully and gently from the original object. It can be a sensitive step.
Troubleshooting Tip:
Use an additional release agent or a soft tool to loosen the edges if the mold sticks.
Estimated Time:
5–10 minutes

---------------------
Step 8: Inspect and Clean
Check your mold for imperfections and clean the mold for later use.
Troubleshooting Tip: Dry the mold entirely before storing it to prevent mildew or residue buildup.
Estimated Time: 5–10 minutes
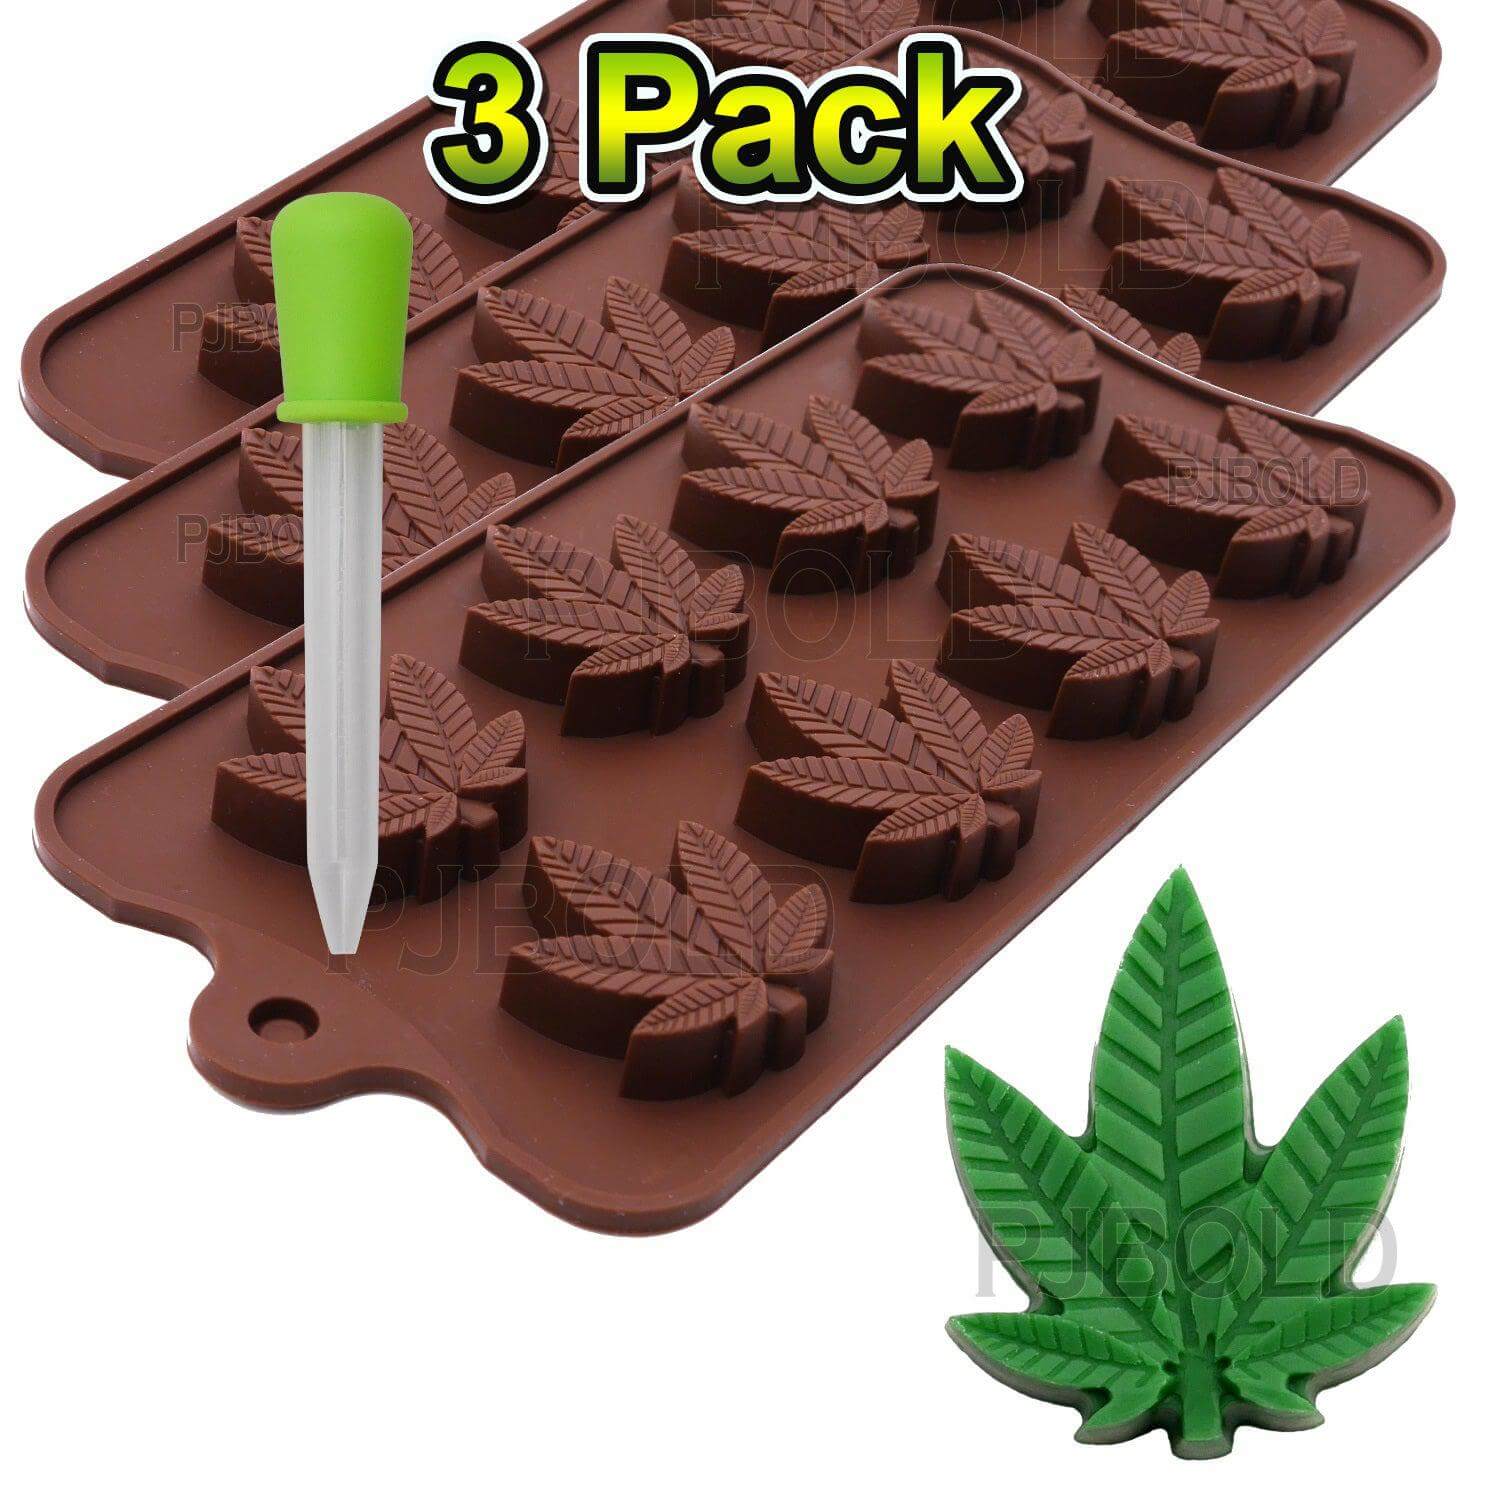 Hemp Leaf 3 Pack Silicone Molds
Buy Now
Hemp Leaf 3 Pack Silicone Molds
Buy Now
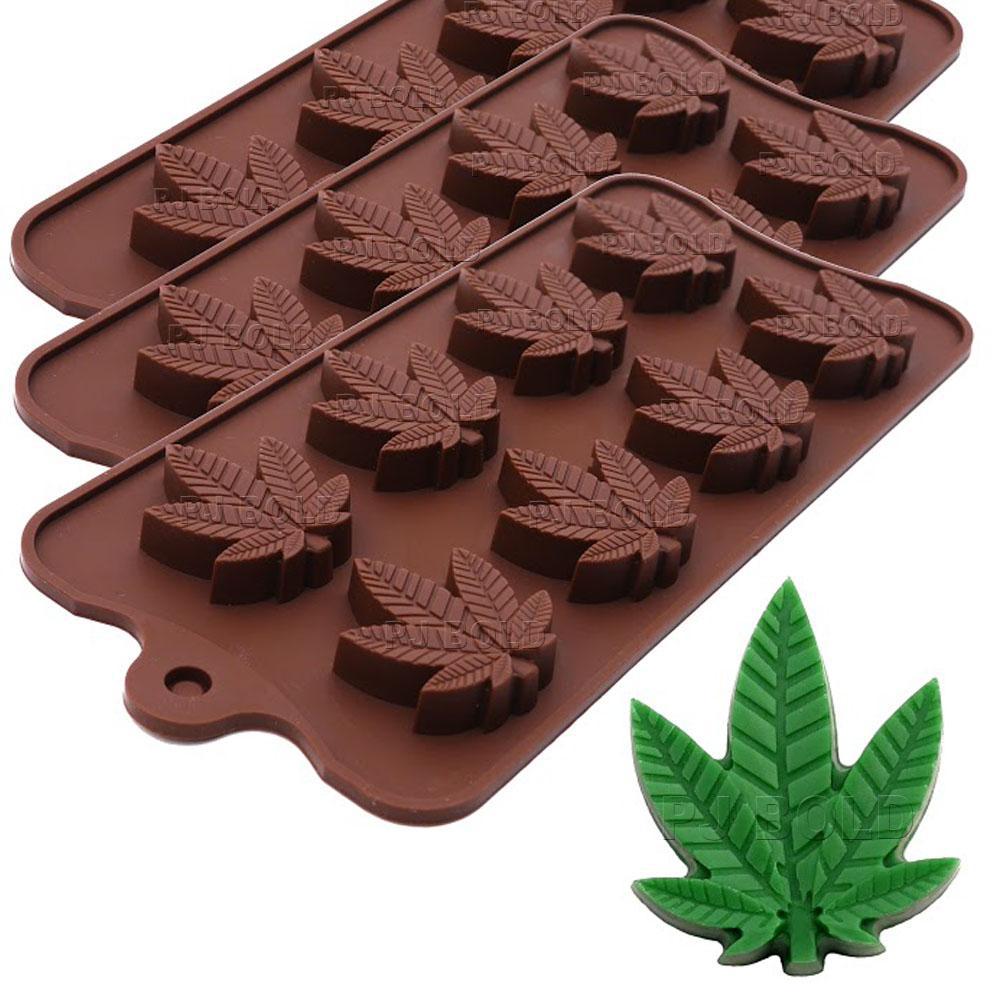
 Leaf Candy Bar Mold
Buy Now
Leaf Candy Bar Mold
Buy Now
 Marijuana Cannabis Hemp Leaf Silicone Molds
Buy Now
Marijuana Cannabis Hemp Leaf Silicone Molds
Buy Now
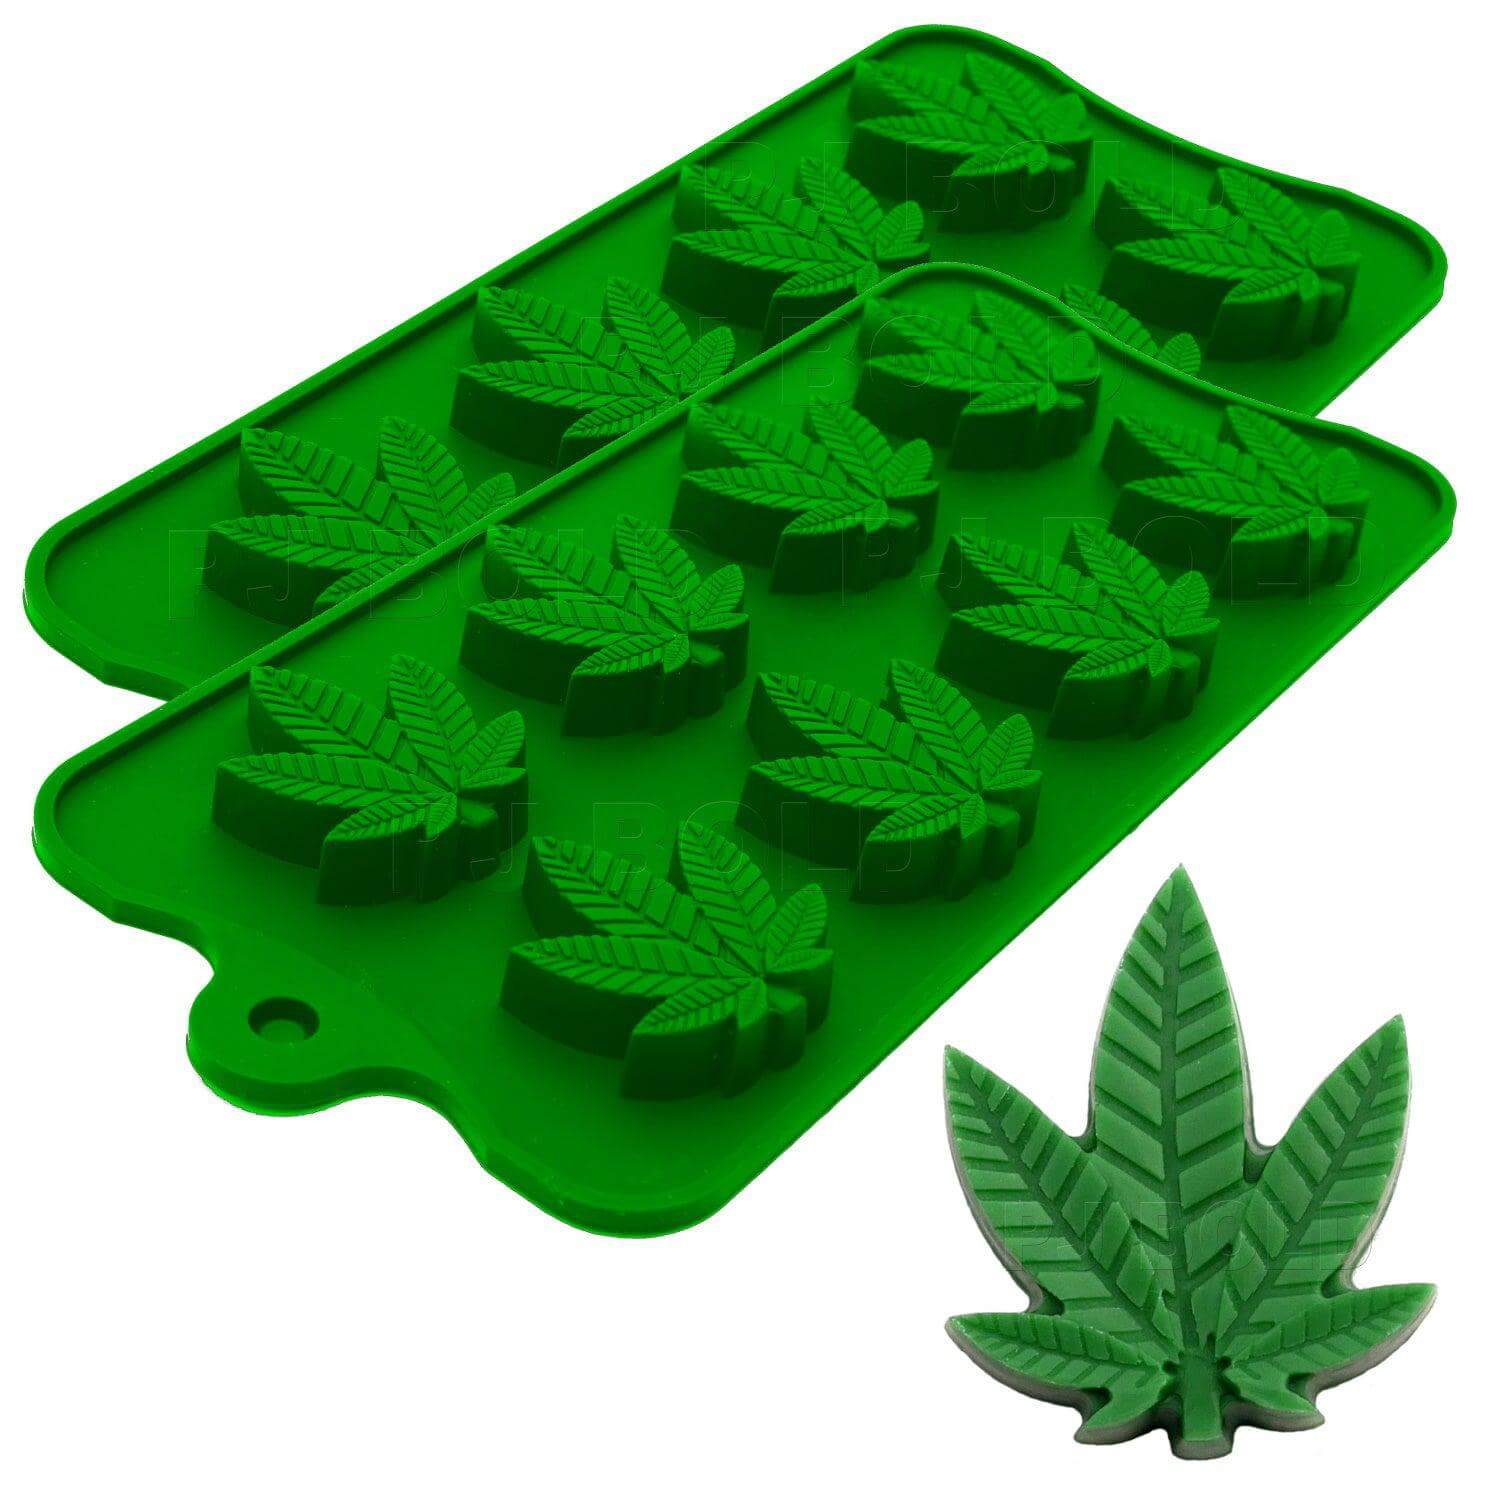 Hemp Leaf Green Silicone Molds
Buy Now
Hemp Leaf Green Silicone Molds
Buy Now
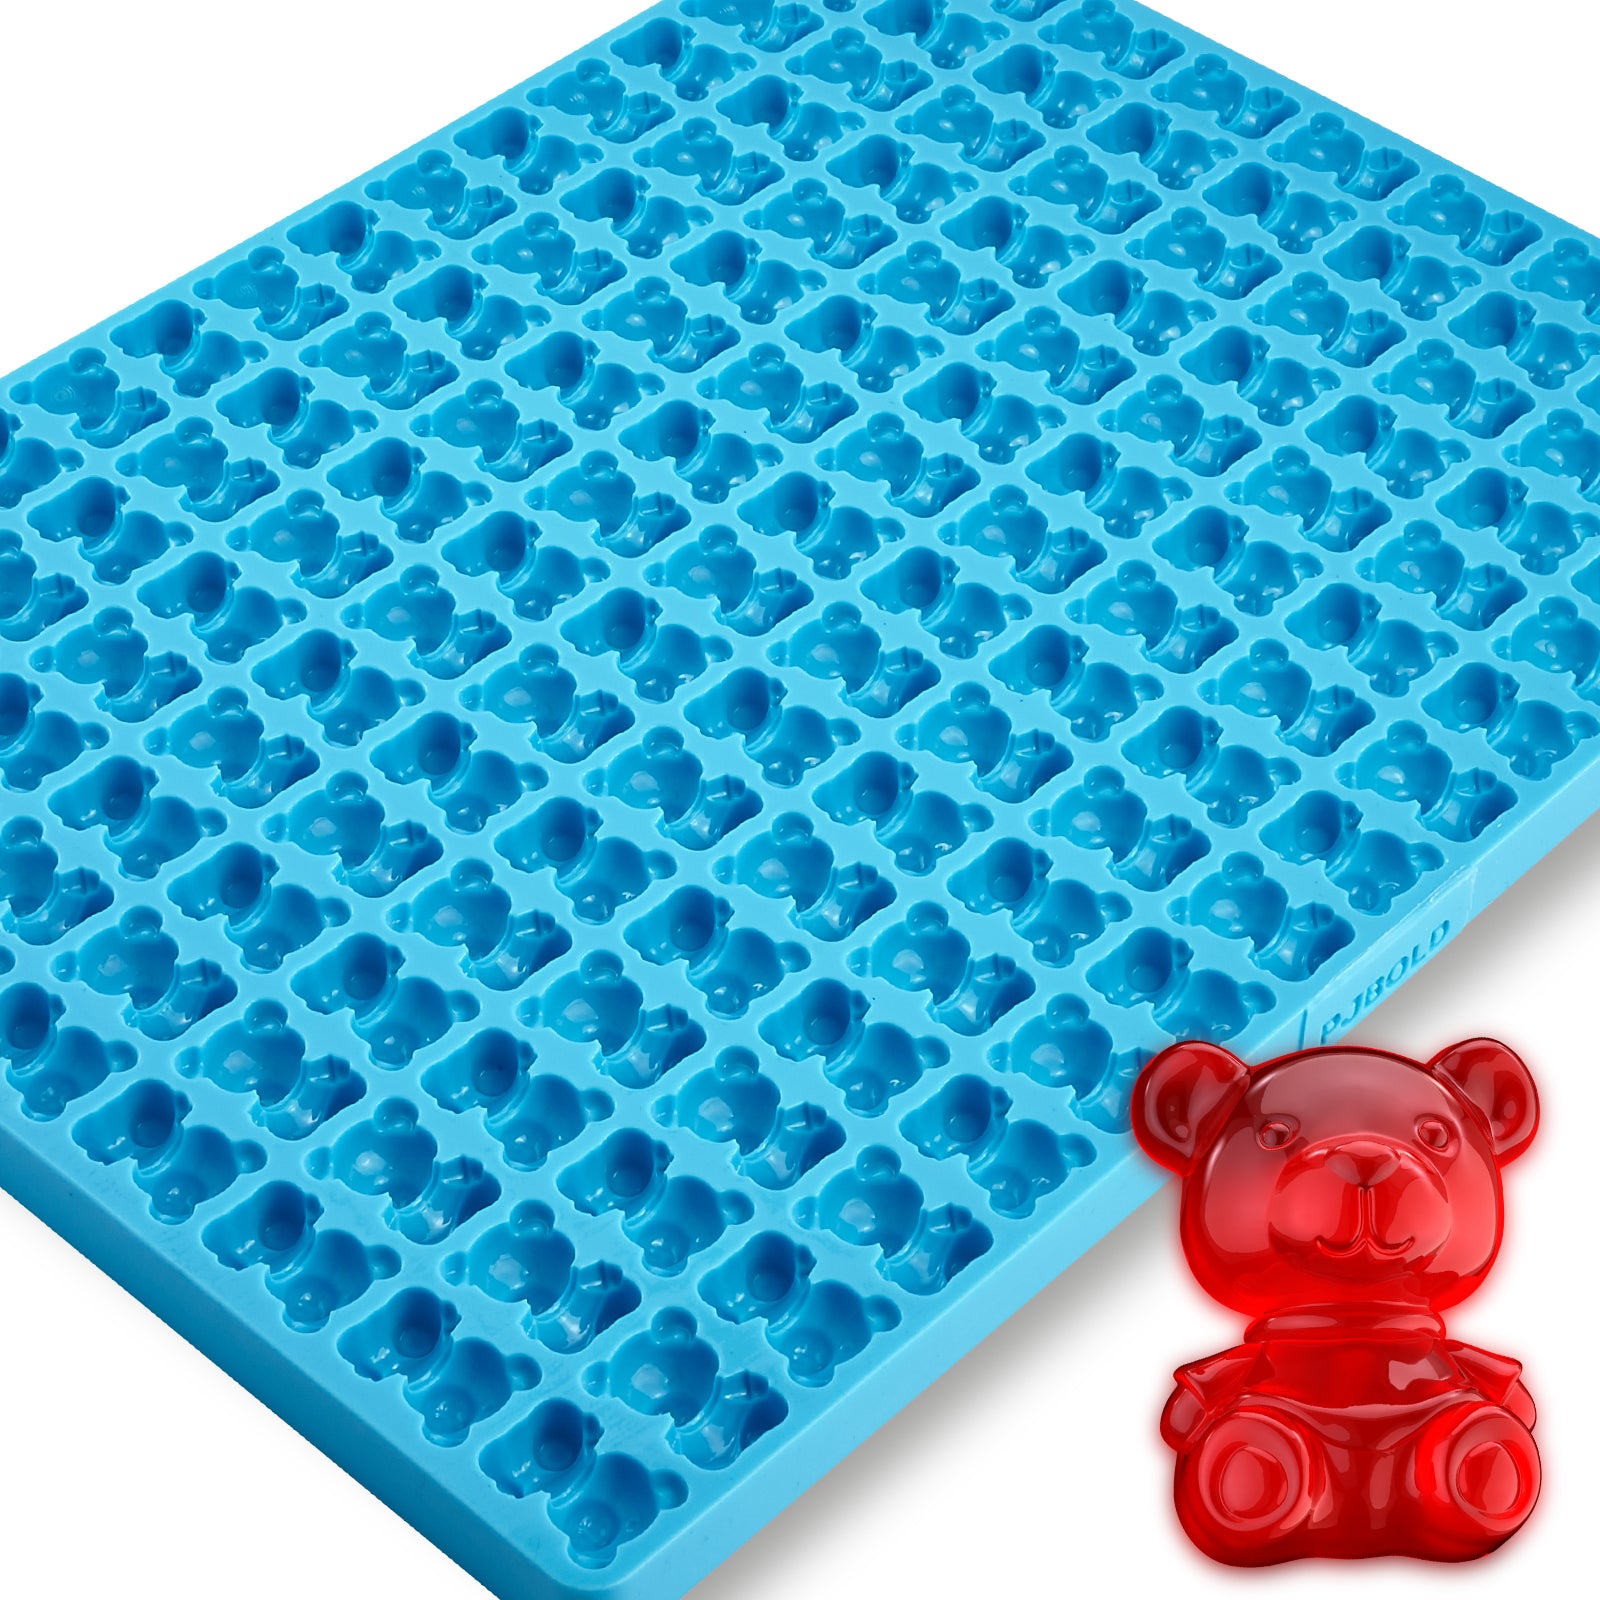 Bear Silicone Mold
Buy Now
Bear Silicone Mold
Buy Now
 Leaf Silicone Candy Mold
Buy Now
Leaf Silicone Candy Mold
Buy Now
 Candy Star Molds
Buy Now
Candy Star Molds
Buy Now
 Square Silicone Candy Mold
Buy Now
Square Silicone Candy Mold
Buy Now
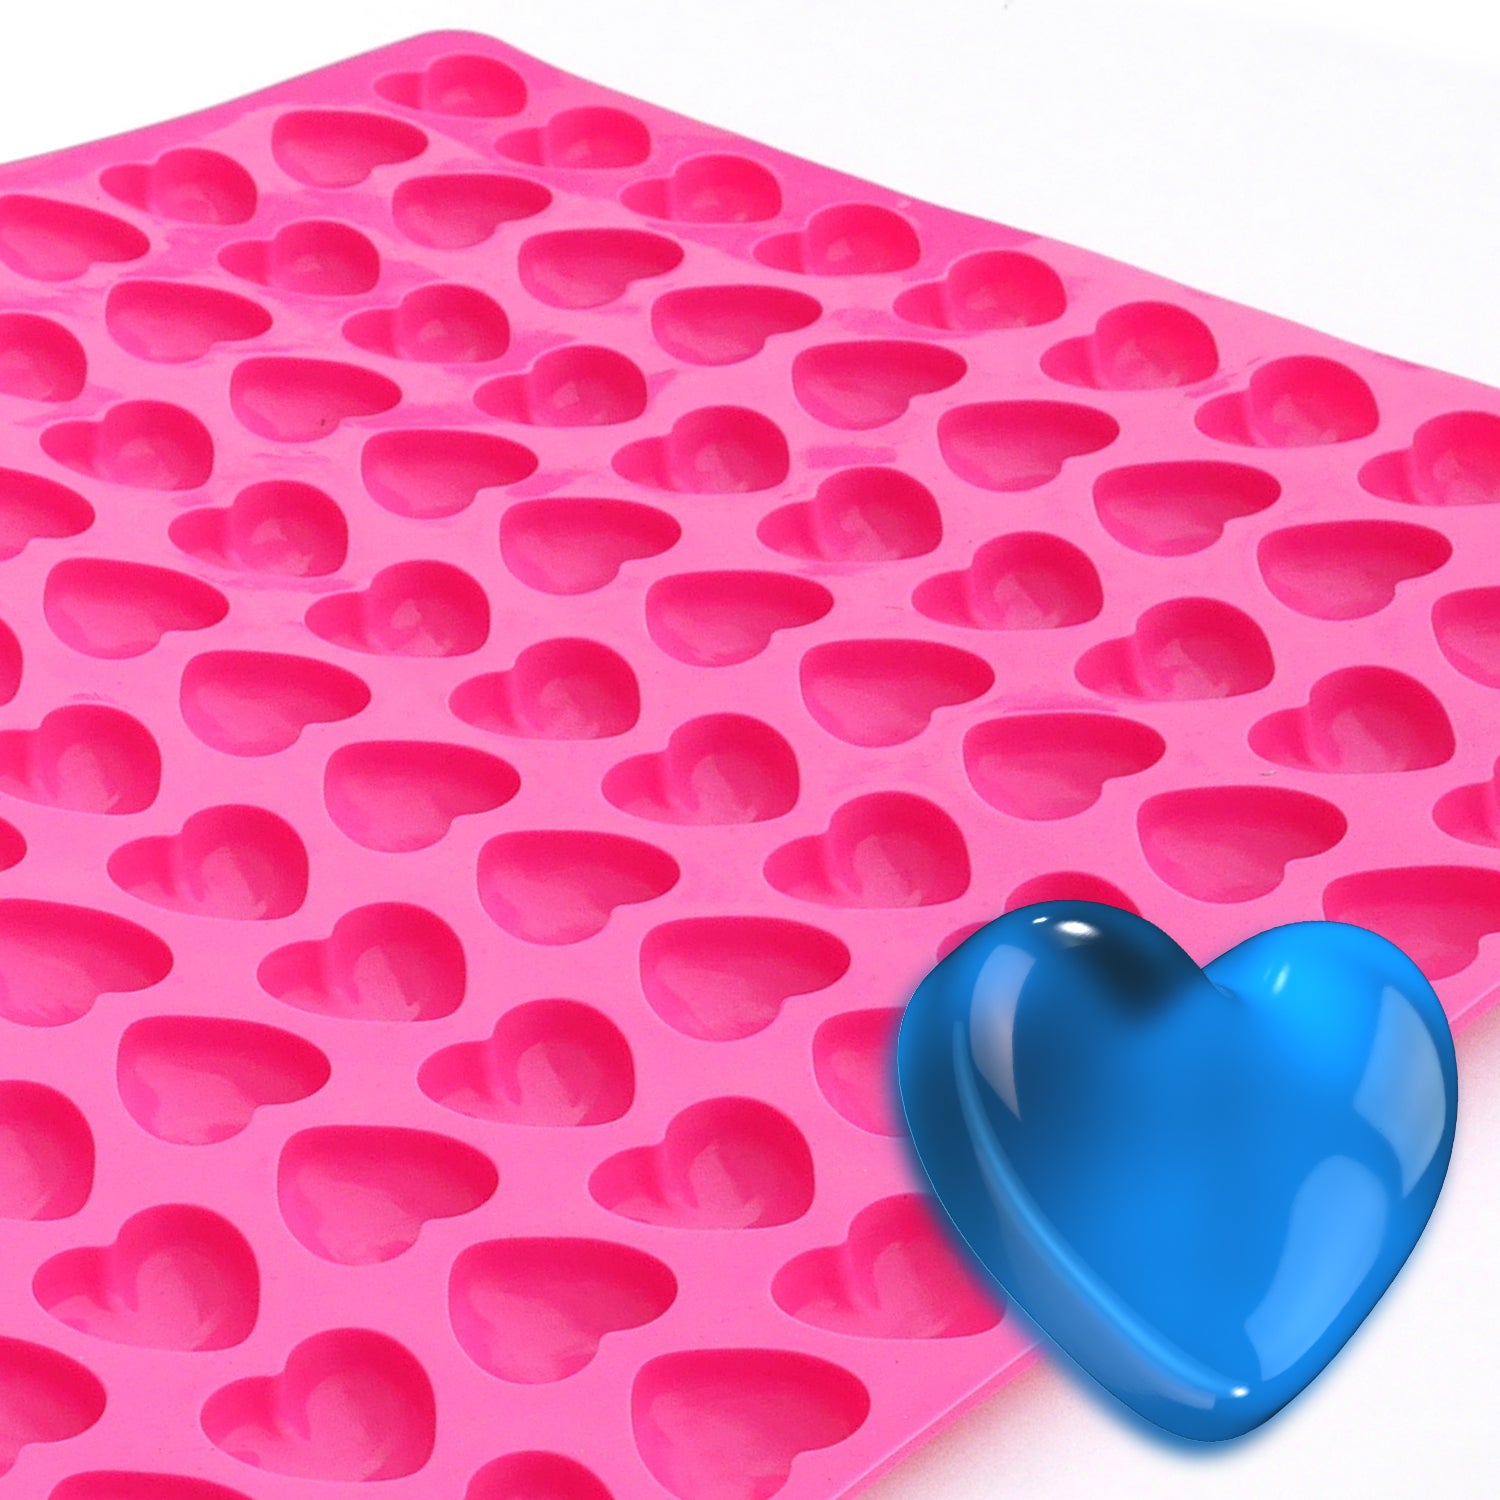 Heart Chocolate Mold Candy
Buy Now
Heart Chocolate Mold Candy
Buy Now
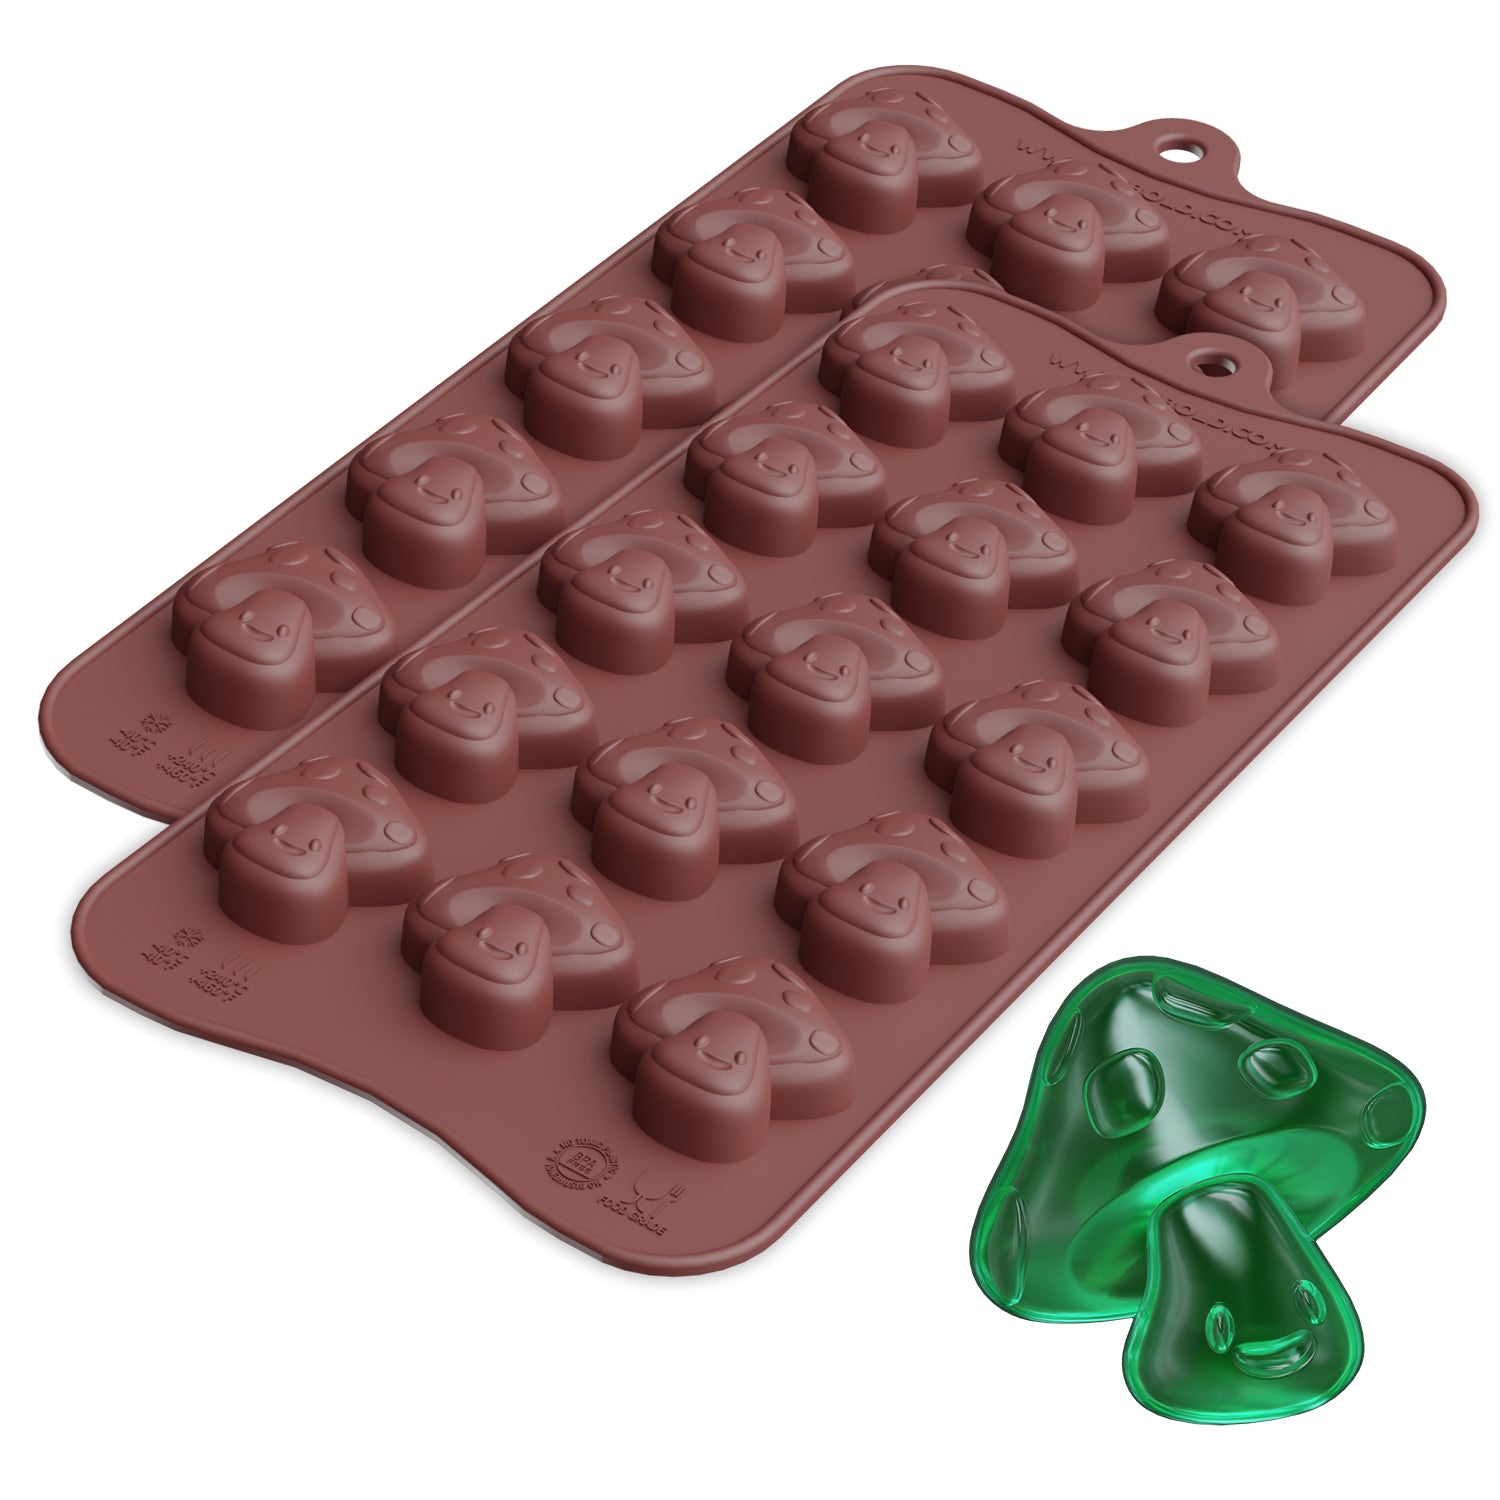 Mushroom Chocolate Silicone Candy Mold
Buy Now
Mushroom Chocolate Silicone Candy Mold
Buy Now
Discover the Uses of Silicone Molds
| Feature | Description | Limitations |
|---|---|---|
| Material | Made from silicone rubber, it is heat-resistant and durable. | It may degrade over time if exposed to extreme heat frequently. |
| Flexibility | It can be shaped into various forms. | It may not hold very fine or sharp details compared to rigid molds. |
| Applications | Used in cooking, crafting, and DIY projects. | Not compatible with certain reactive chemicals or materials. |
| Design Capability | Can create intricate designs. | Intricate designs may require extra care when demolding. |
| Reusability | Easy to clean and reuse, making them a popular choice for creative tasks. | Improper cleaning can lead to residue buildup, affecting durability. |
Silicone molds are very flexible and can be used for many things. You can bake tasty desserts, make special crafts, or even create your soaps. By learning how to use them properly, you can enjoy all these options.
These are the basic steps to preparing your custom silicone mold for your next project.
Part 3- Top Benefits of Creating Your Silicone Mold at Home
Making molds can be worth the time. Because they will help you with various of your cooking recipes. These benefits will motivate you to DIY your customized silicone mold.
Below are some benefits that go along with creating your silicone mold:
| Benefit | Details |
|---|---|
| Customization | Make molds to match any particular designs and requirements you may have. Customization is the main feature of these molds. |
| Artistic Expression | Create shapes and sizes that are impossible to find in stores. It can leave a unique impression on you. You can do a lot of artwork with the help of silicone molds. |
| Cost-Effective | Save your money by making molds for multiple projects. There is no doubt there is availability at different prices, but making it at home can be a money-saving option. |
| Satisfaction | There is a sense of accomplishment in doing it yourself. As DIY freaks love making their things, making their molds gives a sense of happiness or doing something different. |
Part 4- Essential Safety Considerations for Making Silicone Molds
When making silicone molds, safety should be considered. So it will save you from damage. Some key precautions you need to keep in mind when making these molds include the following:
| Safety Tip | Details |
|---|---|
| Ventilation | You need to ensure that you are working in a well-ventilated space where you won't inhale fumes associated with silicone products. |
| Protective Gear | Wear gloves, goggles, and masks to protect yourself from irritants in silicone products. |
| Read Instructions | Read and observe all the safety instructions on the labels of your silicone product. |
| Storage | Keep materials out of reach of children and pets and store them according to manufacturers' specifications. |
Taking these precautions will make for a smoother mold-making process!
Part 5- Top Mistakes to Avoid During Silicone Mold Making
Even seasoned crafters can mess up with silicone molds. So it is better to take precautions to avoid damage or bad results. These are for both professionals and beginners. Given are the most common mistakes and how to avoid them:
| Mistakes | Consequences & Solutions |
|---|---|
| Failure to Apply a Release Agent | Never create your original object without applying a release agent; otherwise, it will stick. |
| Wrong Mixing Ratios | Be very keen on the mixing ratio since getting it wrong means ending up with the wrong curing. |
| Pour it too Fast | Pouring it too fast will capture air bubbles; thus, you need to pour slowly and from a high distance. |
| Delay the Curing Time | Hurry up. Without taking the correct time to cure, your precious mold may be destroyed. If you know the above errors and know how to solve them, then you're off to build a perfect mold. |
Part 6- Key Differences of DIY Silicone Molds vs Buying Online
There are primarily two alternatives when it comes to silicone molds: Do-It-Yourself or buy pre-made ones. It all depends on your choice and your situation. If you need a mold quickly or prefer ready-made options, check out our collection of silicone molds here.
But if you have the time and enjoy the process, making your own is a rewarding option. Let’s do a quick comparison:
| Aspect | DIY Silicone Molds | Buying Online | Buying PJ Bold |
|---|---|---|---|
| Cost | Cheaper for multiple molds | It can be more expensive | Competitive pricing with great value |
| Customization | Fully customizable to your needs | Limited to available designs | Offers a wide range of designs, custom options |
| Quality Control | Full control over materials and process | Quality varies by supplier | High-quality molds made with durable, food-safe silicone and FDA Approved |
| Convenience | Takes time and effort | Ready to use | Easy ordering process with fast shipping options |
Part 7- Maintenance and Storage of Silicone Molds
Maintenance of every household is a bonus point to increase their shelf life. So, in the case of silicone molds. To keep your silicone molds last for a pretty long time, these are the maintenance tips that will surely help:
| Tip | Details |
|---|---|
| Clean Often | Clean your molds with warm soap after every use. |
| Dry Completely | Store your molds when they are dry and are getting mildew. |
| Store Properly | Keep molds flat or upright in a cool, dry place, away from direct sunlight. |
Part 8- Silicone Mold Customization Ideas
- Below are some creative Ideas to give your silicone molds that special touch.
- Color Blending can be a great option. You can mix the colors of silicones to create unique effects.
- The texture will be playful. Press items with interesting textures into the silicone before it cures.
- Adding designs will make attractive molds. Use stencils or make patterns on the surface for added finery.
Conclusion
In conclusion, making your silicone mold is a rewarding and creative process that opens up endless possibilities for crafting, baking, and DIY projects. With the right materials, careful preparation, and attention to detail, you can create custom molds tailored to your needs.
Whether you’re a hobbyist or working on a special project, this skill allows you to bring your unique ideas to life. Now that you know the steps, it’s time to get started and explore all the creative potential that silicone molds offer!
Frequently Asked Questions
Can I just use any silicone for molding?
No, not all silicones are mold-making friendly; look for mold-making-specific silicone. There are many silicones that are meant for molding available in the market.
How long does the silicone take to cure?
Cure times can vary wildly by product. Always check the manufacturer's instructions for best results. Because it changes with each type of silicon.
Can I use my molds more than once?
Yes! If cared for and maintained, silicone molds can be used multiple times. These molds are made to be used multiple times. They are flexible and easy to use. Use your molds in baking, crafting, resin projects, and many, many more!
Where can I get the materials to make silicone molds?
Materials are easy enough to locate in craft stores, specialty supply shops, or online retailers. They are easily available on these platforms and some are also budget-friendly.
Visit here for even more about silicone molds in our collection of square silicone molds or in our collection of thin molds.


