
Reddit user, apexevolutionx, asked a question that many chocolate makers struggle with “How to clean polycarbonate chocolate molds?” Quickly answered, you can wash these molds with warm water and air dry them.
However, cleaning molds properly with water is not enough, as it can leave residue. Plus, a small mistake like hot water (over 60 degrees) can hurt these thermoplastic molds. But with the right guidance, you can clean them in under 5 minutes.
This blog will discuss a complete step-by-step process with simple materials for quick rinsing. Also, read about common mistakes and their solutions to achieve a perfect clean. Stay with us to learn more.
Quick Steps to Clean Polycarbonate Chocolate Molds
|
Part 1. Step-by-Step Guide to Cleaning Polycarbonate Chocolate Molds
You can clean polycarbonate chocolate molds in 8 simple steps. Rinse them with warm water, wash them with mild dish soap, and rinse them again with water thoroughly. Permit us to discuss the cleaning of polycarbonate chocolate molds in detail:
Step 1. Remove Any Leftover Chocolate
Remove big or visible chunks of chocolate from the molds with silicone scrapers to make cleaning easier. Avoid scratching the mold’s surface and using sharp objects to remove chocolate, as this can damage molds.

|
📝 Pro Tip: When the chocolate becomes difficult to remove, simply place the mold in the fridge for about five minutes. Doing so will contract chocolate residues for easier removal. |
Step 2. Rinse with Warm Water
Rinse the polycarbonate mold under warm running water with a temperature less than 30 - 60 degrees. This step will melt away any lingering chocolate without needing excessive scrubbing.
|
✅ Things to Remember
|
Step 3. Wash with Mild Dish Soap
Gently wash the molds with unscented dish soap to get rid of annoying oils or chocolate residues. Only use your hands or soft sponges for gentle rubbing.

You have to avoid strong detergents or scented dish soaps, as they can leave behind particles that may transfer to your chocolate. All of this cleaning will help you remove thin cocoa butter films deposited over time on these polycarbonate molds.
Step 4. Rinse Your Chocolate Mold Thoroughly
Rinse again your chocolate molds under warm water. It will remove any soap residues, ensuring there are no harmful particles in the dessert.
|
📝 Expert Advice: Soap residue may cause chocolate to stick to the mold. Therefore, ensure a complete rinsing. |
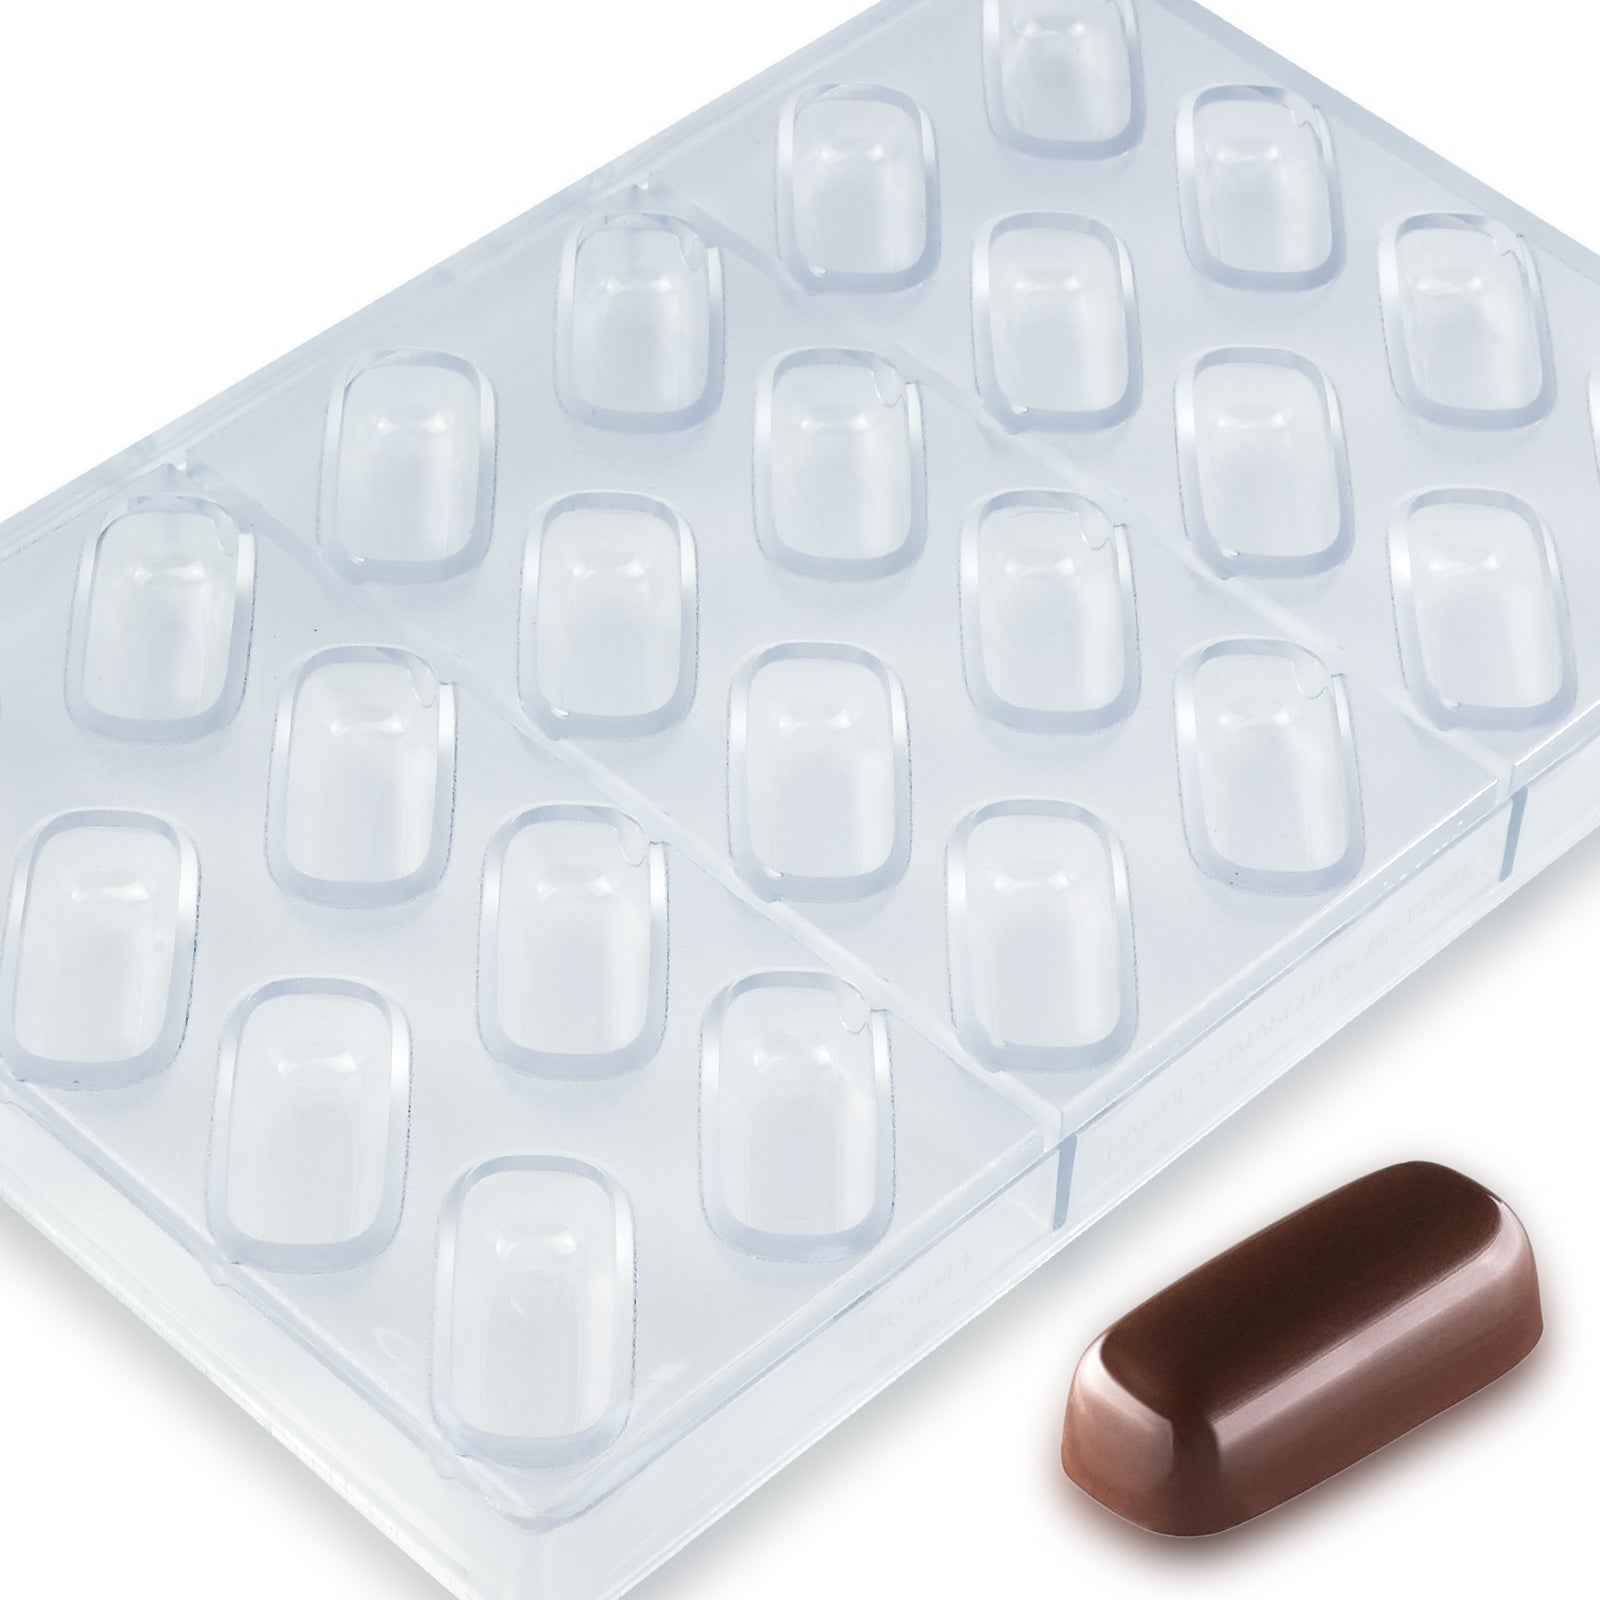
 4mL Round Mold, 28 Cavity, Polycarbonate P1005
Buy Now
4mL Round Mold, 28 Cavity, Polycarbonate P1005
Buy Now
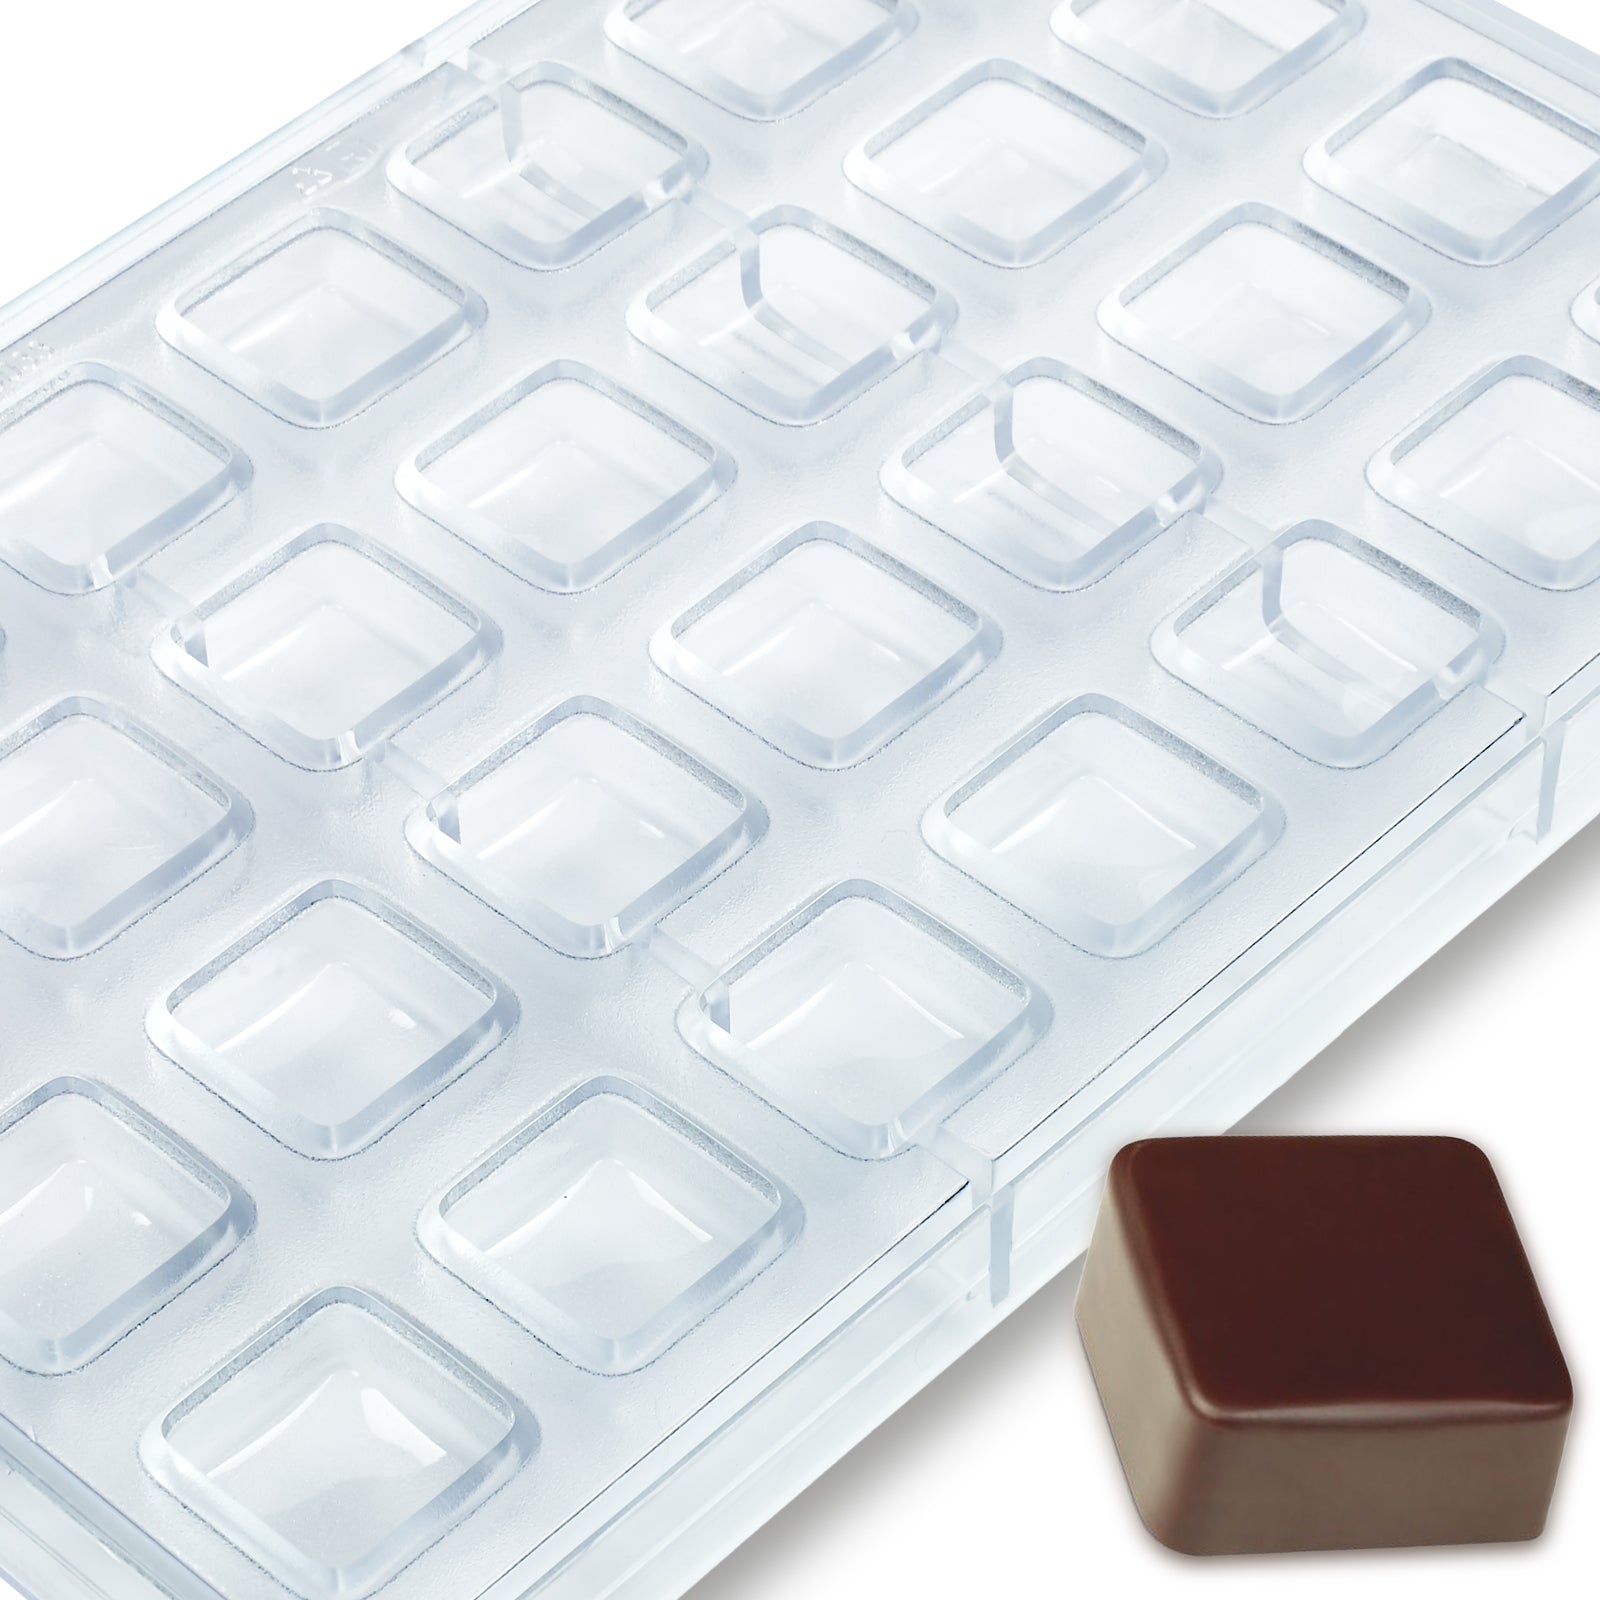 10mL Square Mold, 28 Cavity, Polycarbonate P1007
Buy Now
10mL Square Mold, 28 Cavity, Polycarbonate P1007
Buy Now
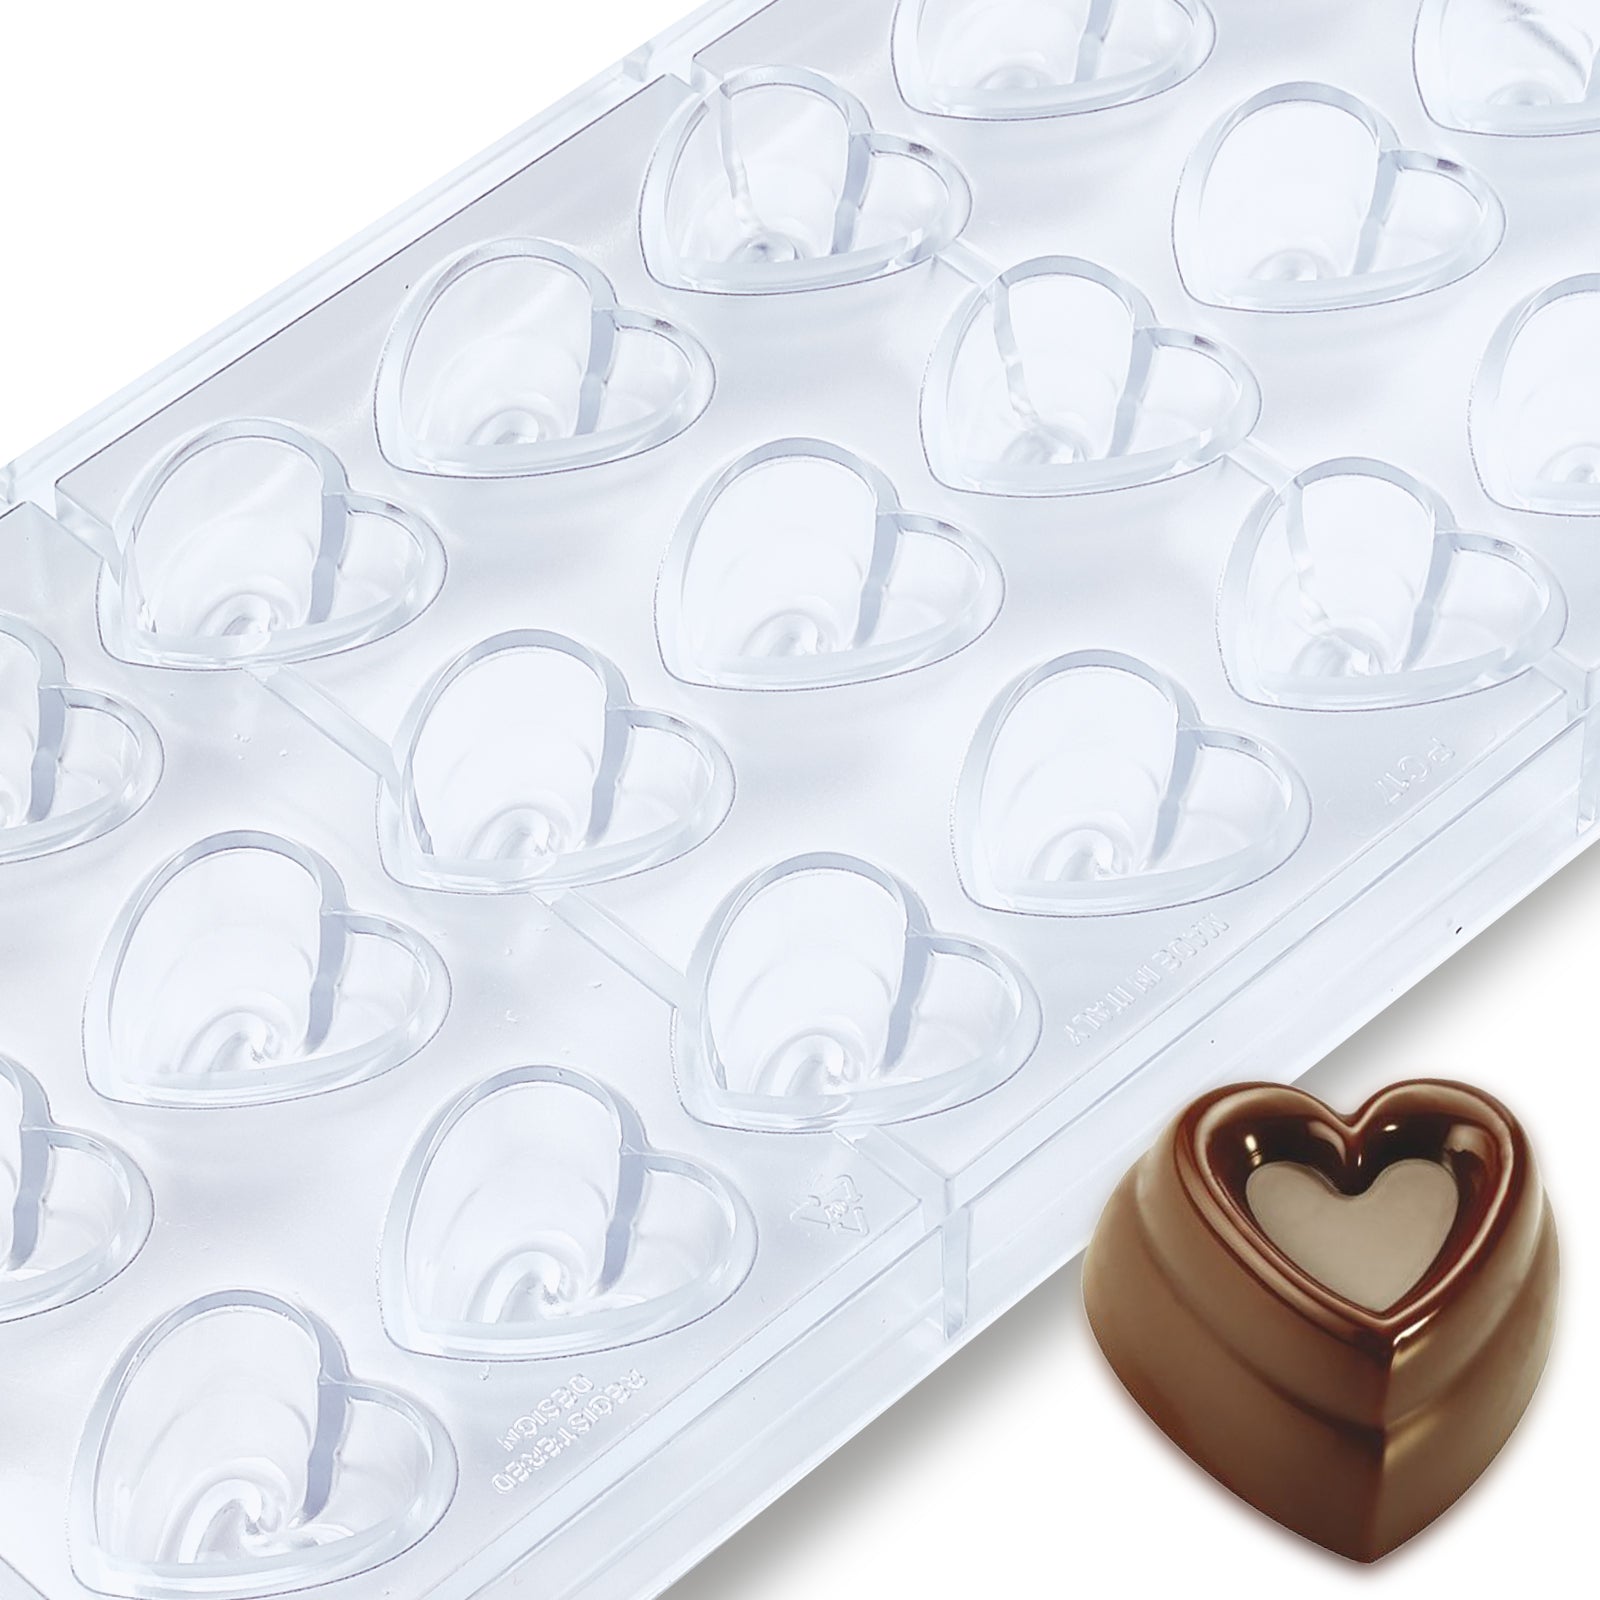 10mL Heart Mold, 21 Cavity, Polycarbonate P1001
Buy Now
10mL Heart Mold, 21 Cavity, Polycarbonate P1001
Buy Now
 10mL Square Mold, 24 Cavity, Polycarbonate P1010
Buy Now
10mL Square Mold, 24 Cavity, Polycarbonate P1010
Buy Now
 10mL Round Mold, 21 Cavity, Polycarbonate P1002
Buy Now
10mL Round Mold, 21 Cavity, Polycarbonate P1002
Buy Now
 Square Silicone Candy Mold
Buy Now
Square Silicone Candy Mold
Buy Now
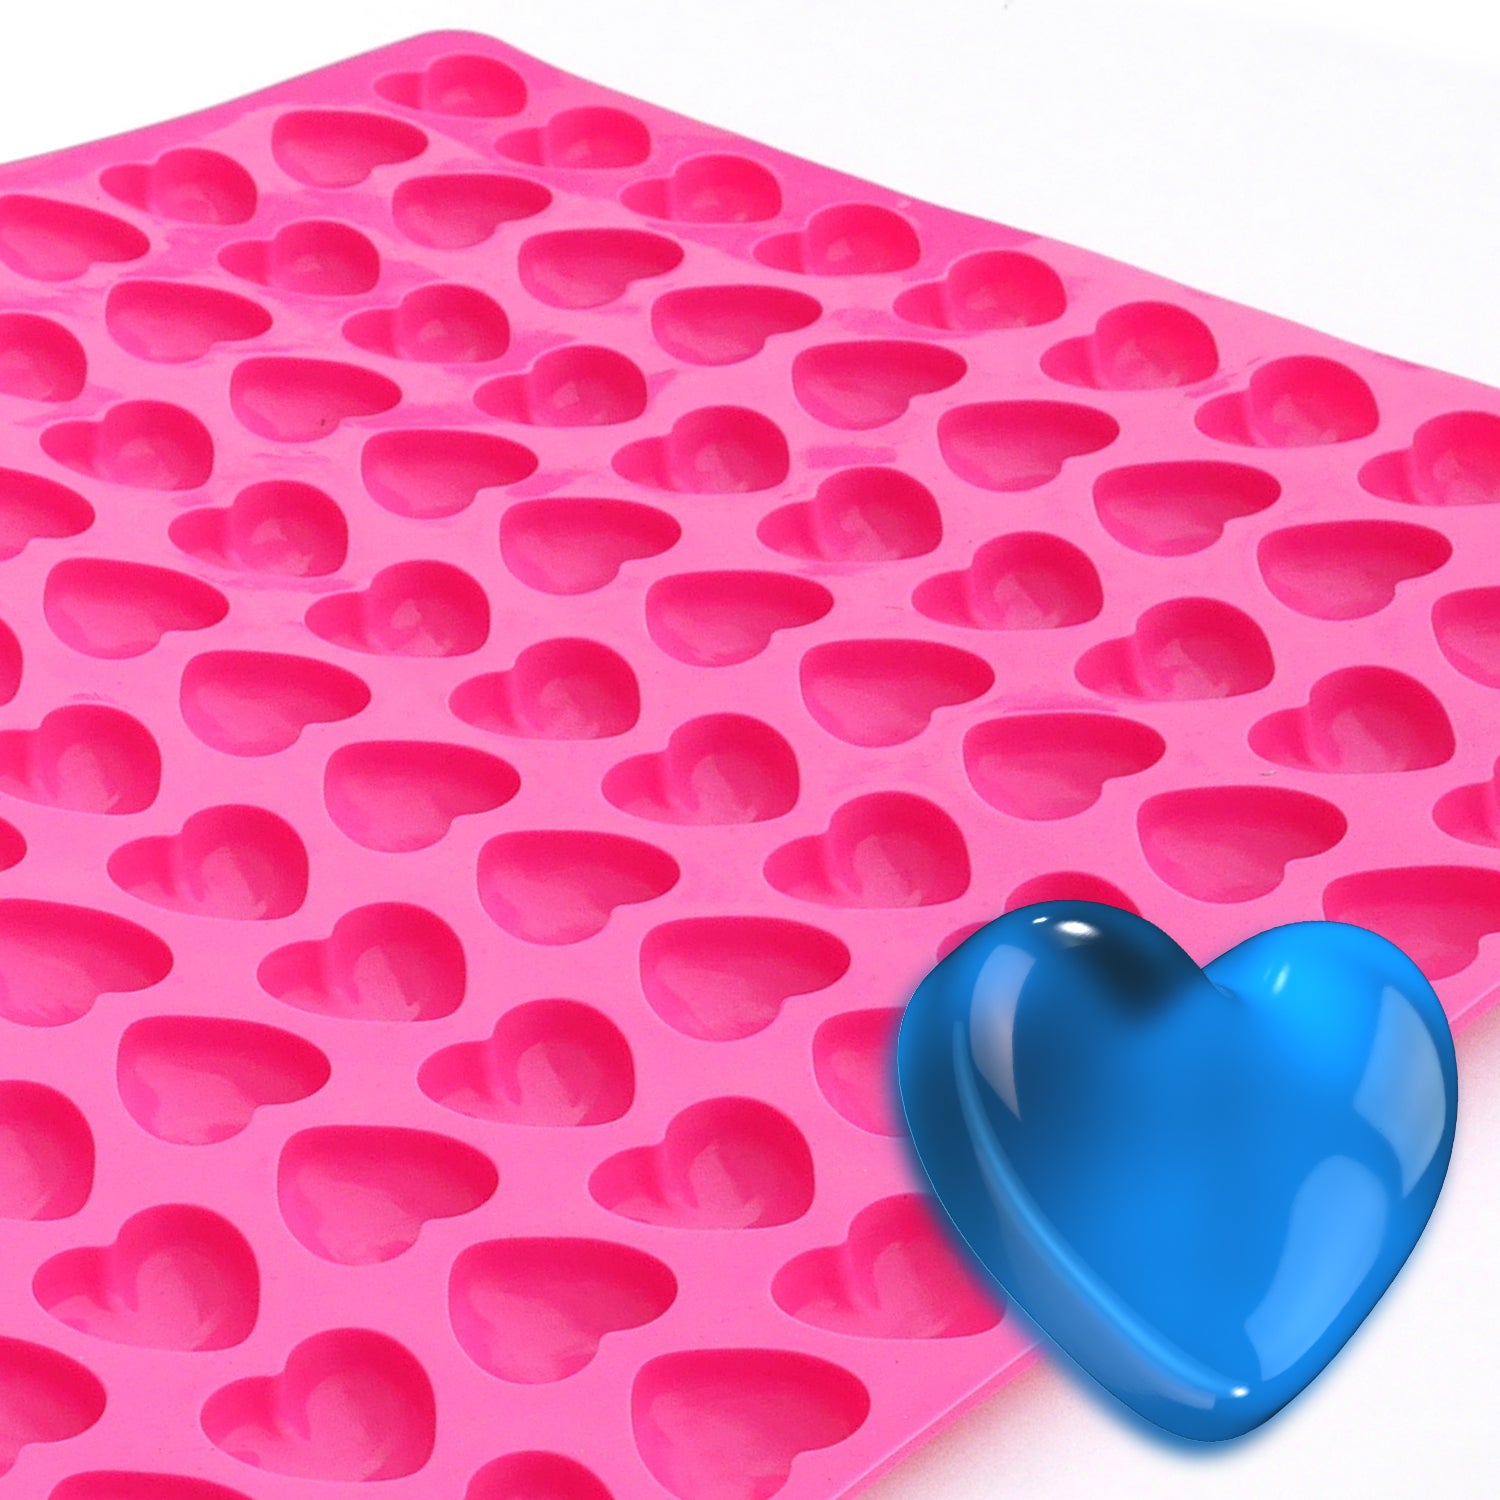 Heart Chocolate Mold Candy
Buy Now
Heart Chocolate Mold Candy
Buy Now
 Mushroom Chocolate Silicone Candy Mold
Buy Now
Mushroom Chocolate Silicone Candy Mold
Buy Now
Step 5. Wipe Polycarbonate Molds with a Soft Cloth
After rinsing your chocolate frames, wipe them using some lint-free microfiber cloth. Thanks to this, you can remove excess moisture and prevent water spots.
|
🚫 Material to Avoid:
|
Step 6. Remove Stubborn Stains Using Vinegar
You can also rinse molds with vinegar if there are any stubborn stains or cloudy spots due to cocoa butter buildup. Use cloth dampened with white vinegar for an effective scrubbing.

With the help of this process, bakers get to break down grease and restore clarity within their molds. However, they need to rinse their mold again after using vinegar to remove any lingering smell.
Step 7- Air Dry Your Chocolate Molds Properly
Upon applying all these steps to clean molds, proceed to place them upside down on a drying rack to air dry completely. Using this technique, anyone can prevent water spots from forming before the next use.
|
Note: You need to let the mold dry naturally without wiping them with some damp towel, as this can leave streaks. |
Step 8- Polish the Polycarbonate Molds Before the Next Use
Before pouring your next batch of homemade chocolate, we recommend you give your molds a quick polish with some dry cloth. Doing so will remove any dust or fingerprints for perfect chocolate-making. Never try to skip this step, as even clean molds can have tiny specks of dust that impact the final chocolate finish.

Part 2. Essential Cleaning Materials and Tools for Polycarbonate Chocolate Molds
Cleaning polycarbonate chocolate molds includes more than just rinsing them off. Explore this part as we go on the journey to gather everything we need to get the job done.
Cleaning Materials You Will Need for Chocolate Molds
|
Material |
Why It's Essential |
|
Warm Water |
Thanks to this material, you can melt away residual chocolate without damaging the mold. |
|
Mild Dish Soap |
It plays its role in removing cocoa butter residue without leaving unwanted chemicals behind. |
|
White Vinegar |
Using this substance, bakers get to break down stubborn cocoa butter stains and cloudiness. |
|
Food-Safe Microfiber Cloth |
With such a cloth, you can prevent any scratches on your mold. |
|
Lint-Free Paper Towels |
Being able to absorb moisture, this material does so without leaving any residue behind. |
While collecting these materials, avoid buying harsh detergents, as they can weaken the surface of your food-safe molds.
Some Necessary Cleaning Tools for Polycarbonate Molds
-
Soft Sponge or Non-Abrasive Scrubber
Ideal for removing chocolate residues, such soft sponges scratch the mold’s surface without causing any damage. While applying gentle scrubbing strokes, lift excess chocolate for cleaner chocolate-making.
|
❌ Things to Avoid: Steel wool or rough sponges can cause scratches that ruin your chocolate mold's glossy effect. |
-
Silicone or Plastic Scraper
When dealing with hardened chocolate, use plastic or silicone scraper to avoid any kind of damage. Both these tools provide a safer way to dislodge excess chocolate without using force.

-
Drying Rack
Air drying helps you get all the moisture out before any future usage. Thanks to an efficient drying rack, you will enjoy proper airflow that dries the molds evenly.
-
Air Blower
While in a hurry, you can make use of any air blower to instantly remove dust or lint from molds before use. This equipment proves to be a lifesaver in professional chocolate production for increased efficiency.
|
💡 Expert Tip: Instead of blowing directly into the mold, you need to hold the blower at some angle to remove dust particles efficiently. |
Why Proper Cleaning and Maintenance of Chocolate Molds Matter?
Let’s see how maintaining chocolate molds ensures the quality and beauty of your final creations.
- Clean molds give a glossy finish that makes chocolates look professionally crafted.
- Residue from previous batches can alter taste, so clean molds preserve the pure flavor of your chocolate.
- Well-maintained molds help chocolates pop out effortlessly to avoid cracks or breaks.
- Regular cleaning prevents buildup and damage to protect your molds for future use.
Part 3. Common Chocolate Release Problems and How to Fix Them
Even with the finest polycarbonate molds, sometimes things don’t go as planned. Instead of perfectly molded chocolates, you might end up with stubborn sticking ones. For your assistance, we’re here to clean up these chocolate troubles with practical solutions.
Problem 1. Chocolate Sticks to the Mold
In case your chocolate refuses to come out of the mold, the likely culprits may turn out to be insufficient tempering. Apart from that, you can also face this annoying issue due to improper cooling or residual grease in the mold.
Turn your ideas into art with our best silicone molds – Enjoy Up to 45% Discounts!
Shop Now
Ways to Fix the Chocolate Sticking Within the Mold Issue
- Check Your Tempering: When you choose to temper chocolates, they usually shrink slightly as they cool. Thanks to this phenomenon, the release becomes much easier.
- Get Your Mold Cleaned: Remove any leftover cocoa butter or grease with a lint-free cloth before use.
Problem 2. Chocolate Appears Dull or Cloudy
Sometimes, improper cleaning can lead to scratched molds, which in turn cause chocolate to appear lackluster. Besides that, professionals also face this effect when they fail to temper the batter in the best way possible.

Ways to Improve the Dull-Looking Chocolates
- Polish Your Mold Before Use: Your molds should be spotless for that flawless shine. For this, always buff these molds with some dry cloth before pouring chocolate.
- Inspect Mold for Scratches: As scratches create uneven surfaces, make sure polycarbonate molds are free from them to avoid dull spots.
Problem 3. Water Spots Appear on the Mold
When your molds show signs of water spots, it means they weren't dried properly after washing. If your tap water has minerals, it can leave white streaks on your molds.
Ways to Avoid Water Spots on Your Polycarbonate Molds
- Dry Molds Immediately: After washing, wipe them without wasting any time with any microfiber cloth to prevent water stains.
- Air Dry Upside Down: Thanks to this technique, you will be able to prevent water from pooling inside the cavities and creating spots.
Problem 4. White Residue Forms on the Mold
Such a chalky white film on your molds may appear due to fat or sugar bloom. When your molds are not cleaned properly, these residues can also ruin the outlook of future batches of homemade chocolate.

Ways to Clean White Residue from Mold
- Utilize White Vinegar: Start by dampening any soft cloth with food-safe white vinegar and gently wiping the mold. Afterward, simply rinse the polycarbonate molds with warm water to avoid any smell.
- Try Some Baking Soda Paste: To remove these annoying marks, apply baking soda paste on molds using soft sponges. Doing so will enable you to break down stubborn fat or sugar bloom without any damage to molds.
Part 4. Storage Tips to Maintain Polycarbonate Chocolate Molds
After cleaning your molds to perfection, storing them correctly becomes just as important as washing them. Follow these storage tips to be ready for your next chocolate masterpiece.
Tip 1. Store Your Molds in a Cool, Dry Place
Honestly speaking, polycarbonate molds hate humidity. Any type of moisture can lead to sugar bloom, which leaves an unwanted chalky film on your chocolates. Other than that, heat can cause chocolate release issues.
To deal with these situations, keep your molds in a room between 50 to 68°F with low humidity. Also, avoid storing your molds near ovens or dishwashers, as they can gradually deform the molds.
|
📝 Expert Tip: While living in humid surroundings, consider placing silica gel packets near your stored molds to absorb excess moisture. |
Tip 2. Avoid Direct Sunlight Exposure
Like other delicate materials, UV exposure can also cause the polycarbonate to become brittle over time. Therefore, store such molds within some dark cabinet or drawer to prevent damage.
|
💡 Fun Fact: Ever noticed how chocolates left in the sun turn white? That's a fat bloom! You can avoid the same fate for your molds by keeping them in some shaded space. |
Tip 3. Stack These Molds Carefully or Store Separately
When you stack multiple molds, they get prone to scratches, which ruin their smooth surface. Simply place parchment paper or silicone mats between stacked molds. If possible, keep each mold in its own compartment to fully prevent friction damage.
Conclusion
All in all, cleaning polycarbonate chocolate molds might seem challenging. However, this process is worth every second to make the chocolate-making task even more rewarding. With a bit of patience, you will be able to craft chocolates that come out smooth.
To make things much easier, we suggest purchasing chocolate molds from PJ Bold, as they are made for easy cleaning. So, go ahead and channel your inner Monica Geller to make mold cleaning part of your chocolate-making ritual.
Frequently Asked Questions
Can I Put Polycarbonate Chocolate Molds in the Dishwasher?
No, we recommend you avoid using dishwashers for washing such molds. As this equipment uses high heat and strong detergents, it will lead to warping and cloudiness on the molds.
How Often Should I Deep Clean My Chocolate Molds?
When used regularly, deep cleaning with vinegar or baking soda should be done every few weeks. Doing so will help you prevent cocoa butter buildup on polycarbonate molds.
Why Does My Chocolate Stick Even Though the Mold Is Clean?
Possible reasons for this annoying issue may include improper tempering or residual moisture. To prevent chocolate from sticking, always temper your chocolate and dry your molds in a proper manner.


