
Bakers often ask, “How to use chocolate molds without making a mess?” The quick answer: Clean your molds properly, melt real chocolate (not candy), and chill it just right.
But that's just scratching the surface. Using chocolate molds the right way is the secret to smooth, glossy, professional-looking chocolates. Whether you’re prepping for a holiday, gift, or a late-night craving, this guide covers everything — step-by-step instructions, tips, and things to avoid.
From common approved techniques to expert level precision (yes, we're talking quality), follow this guide and mold like a pro.
Let's begin with a quick, step-by-step approach to utilizing chocolate molds!
Steps to How to Use Chocolate Molds
- Step 1: Prepare molds, high-quality chocolate, and tools for melting and pouring.
- Step 2: Wash with hot water and soap, then dry completely.
- Step: Melt chocolate to the correct temperature for smooth results.
- Step 4: Pour melted chocolate into the mold and tap gently to remove air bubbles.
- Step 5: Pour melted chocolate, tapping to remove air bubbles.
- Step 6: Refrigerate molds for 15-20 minutes to harden chocolate.
- Step 7: Gently flex or tap mold to release chocolates without breaking them.
Let's begin with a quick, step-by-step approach to utilizing chocolate molds!
Part 1- How to Use Chocolate Molds Step-by-Step
Chocolate molds make it simple to make stunningly shaped chocolates from home. Both beginner and pro users will appreciate that smooth, professional-looking outcomes result from proper procedures.
Step 1. Gather Your Materials
Here’s what you’ll need before you start making chocolates,
- Chocolate Molds: Depending on your preference, use silicone, polycarbonate, or plastic molds. Polycarbonate molds are glossy, while silicone molds are flexible and easy to use.
- High-quality chocolate: Use real chocolate (dark, milk, or white) for the best taste and texture.
- A microwave-safe bowl or double boiler: This helps melt chocolate evenly without burning it. A double boiler gives better control, while a microwave is a quicker option.
- A Silicone Spatula: Use this to stir the chocolate smoothly and prevent lumps. Avoid using wooden spoons, as they can hold moisture.
- A Thermometer (Optional): If tempering chocolate, a thermometer ensures it reaches the right temperature—31-32°C for dark chocolate and 30-31°C for milk or white chocolate.
- A Spoon or Piping bag: A spoon helps pour chocolate into the molds, but a piping bag gives better control and reduces mess.
If you're looking to enhance your chocolate-making experience, exploring how to make your own molds might be the perfect next step.

Step 2. Clean and Dry the Mold
Wash with hot water (below 60°C) and mild soap. Rinse well and dry completely. Even a little moisture can ruin the texture and shine.

Step 3. Temper the Chocolate (If Needed)
Use a double boiler or microwave. If you’re tempering:
- Dark chocolate: 31–32°C
- Milk/white chocolate: 30–31°C
Want an easier way? Learn more about melting chocolate properly, no tempering needed.

Step 4. Fill the Mold
Pour or pipe melted chocolate into each cavity. Tap the mold gently to release air bubbles. This keeps the surface smooth and void-free.

Step 5. Set the Chocolate
Refrigerate for 15–20 minutes. Don’t rush this step, if they’re too soft, they’ll break while unmolding.

Step 6. Unmold the Chocolates
Gently flex silicone molds or tap polycarbonate ones upside-down. Avoid force — the chocolates should release cleanly when properly set.
The right chocolate mold makes all the difference, let’s find the best one for you!
Step 7. Unmold the Chocolates
Gently flex the mold or tap it on a clean surface to release the chocolates. If using a polycarbonate mold, turn it upside down and tap it firmly. Avoid using too much force to prevent breakage.
Now that you know how to use chocolate molds, you can experiment with different recipes and techniques to make homemade chocolate from scratch.
The right chocolate mold makes all the difference, et’s find the best one for you!
 4mL Round Mold, 28 Cavity, Polycarbonate P1005 Buy Now
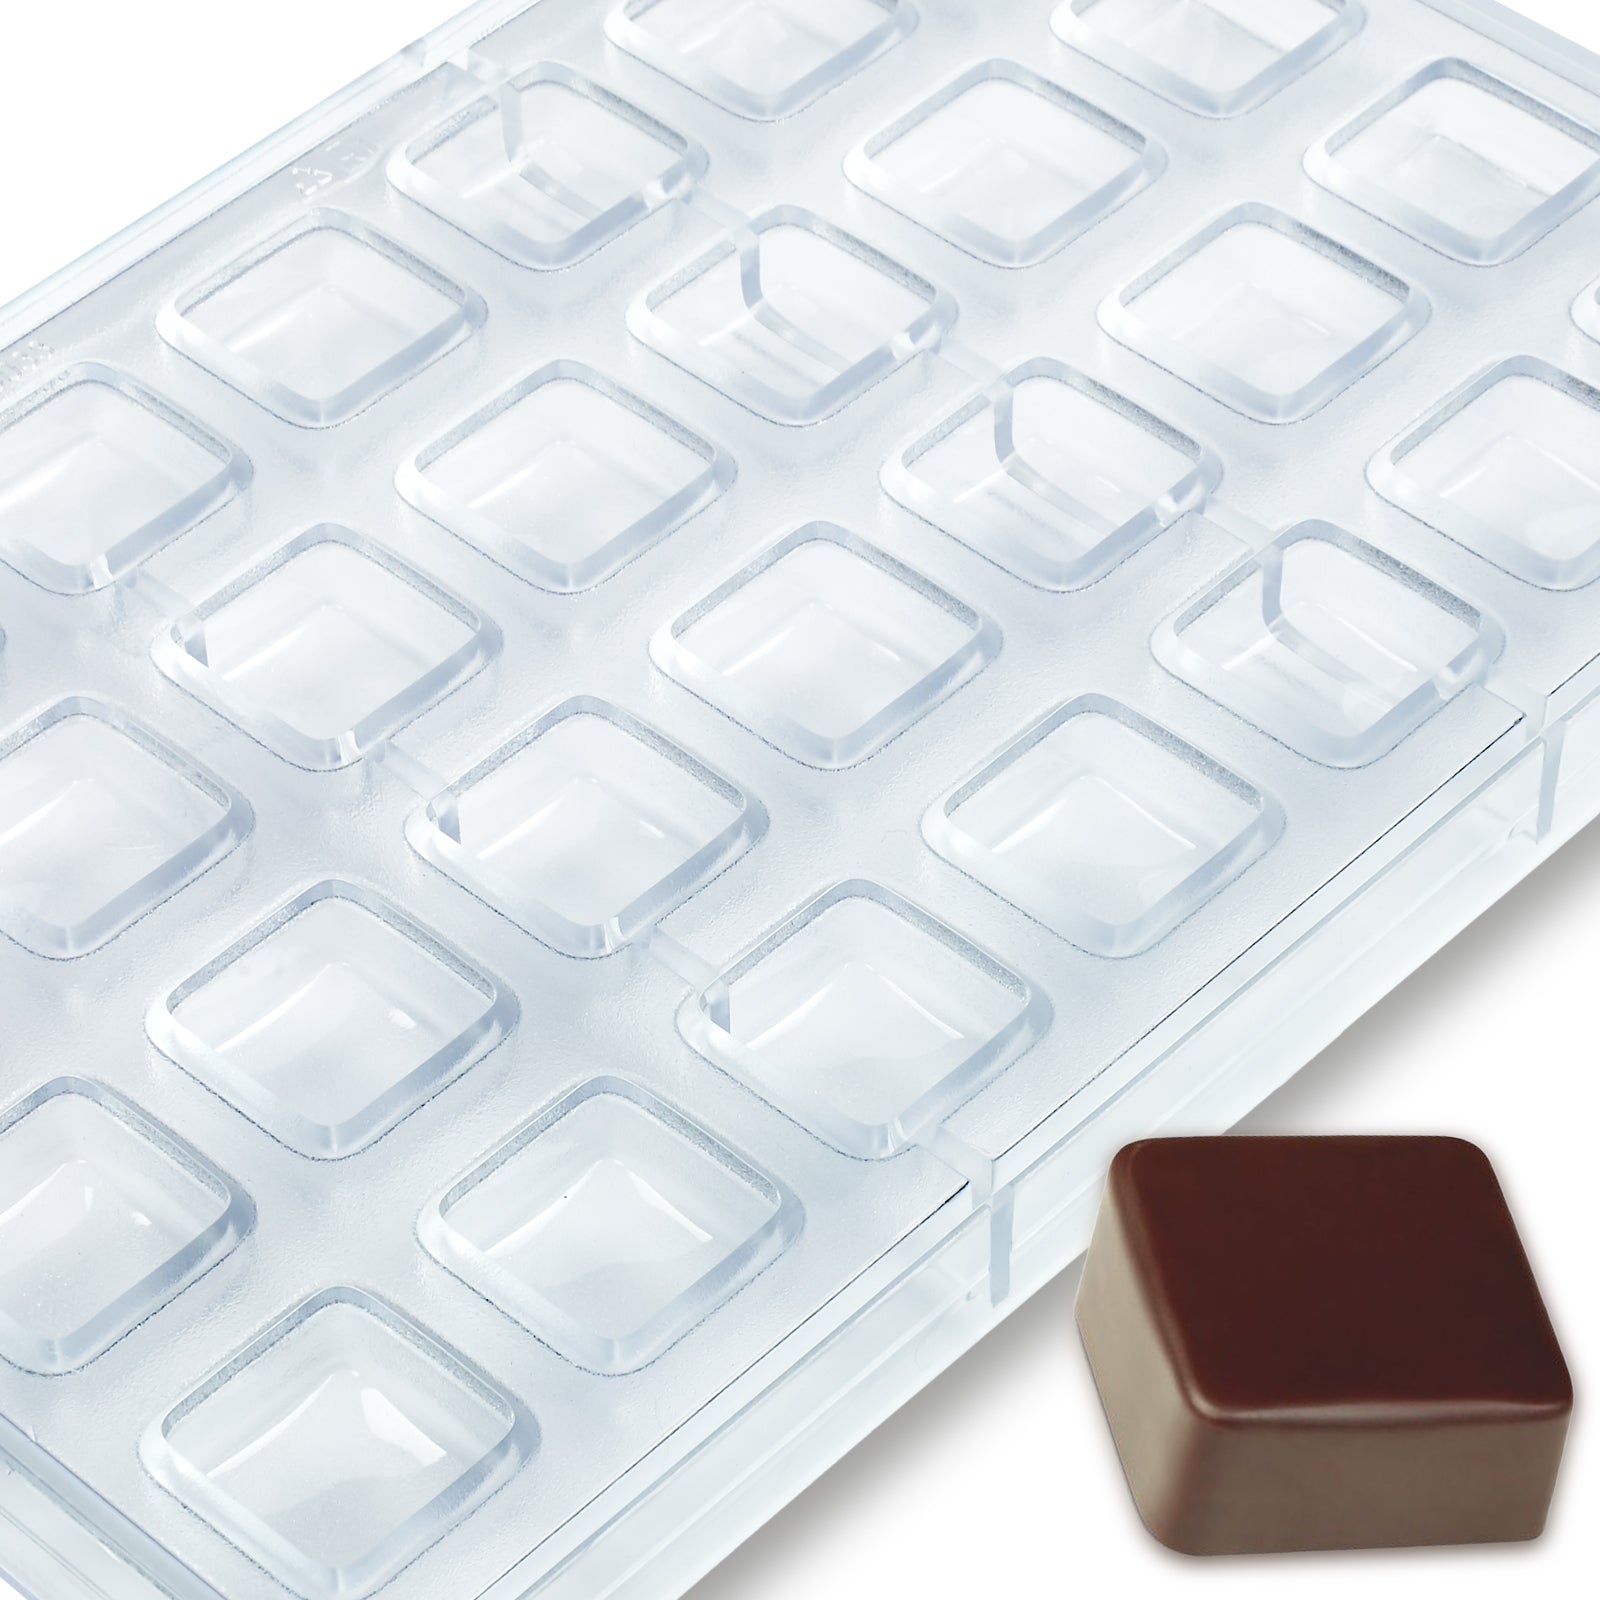 10mL Square Mold, 28 Cavity, Polycarbonate P1007 Buy Now
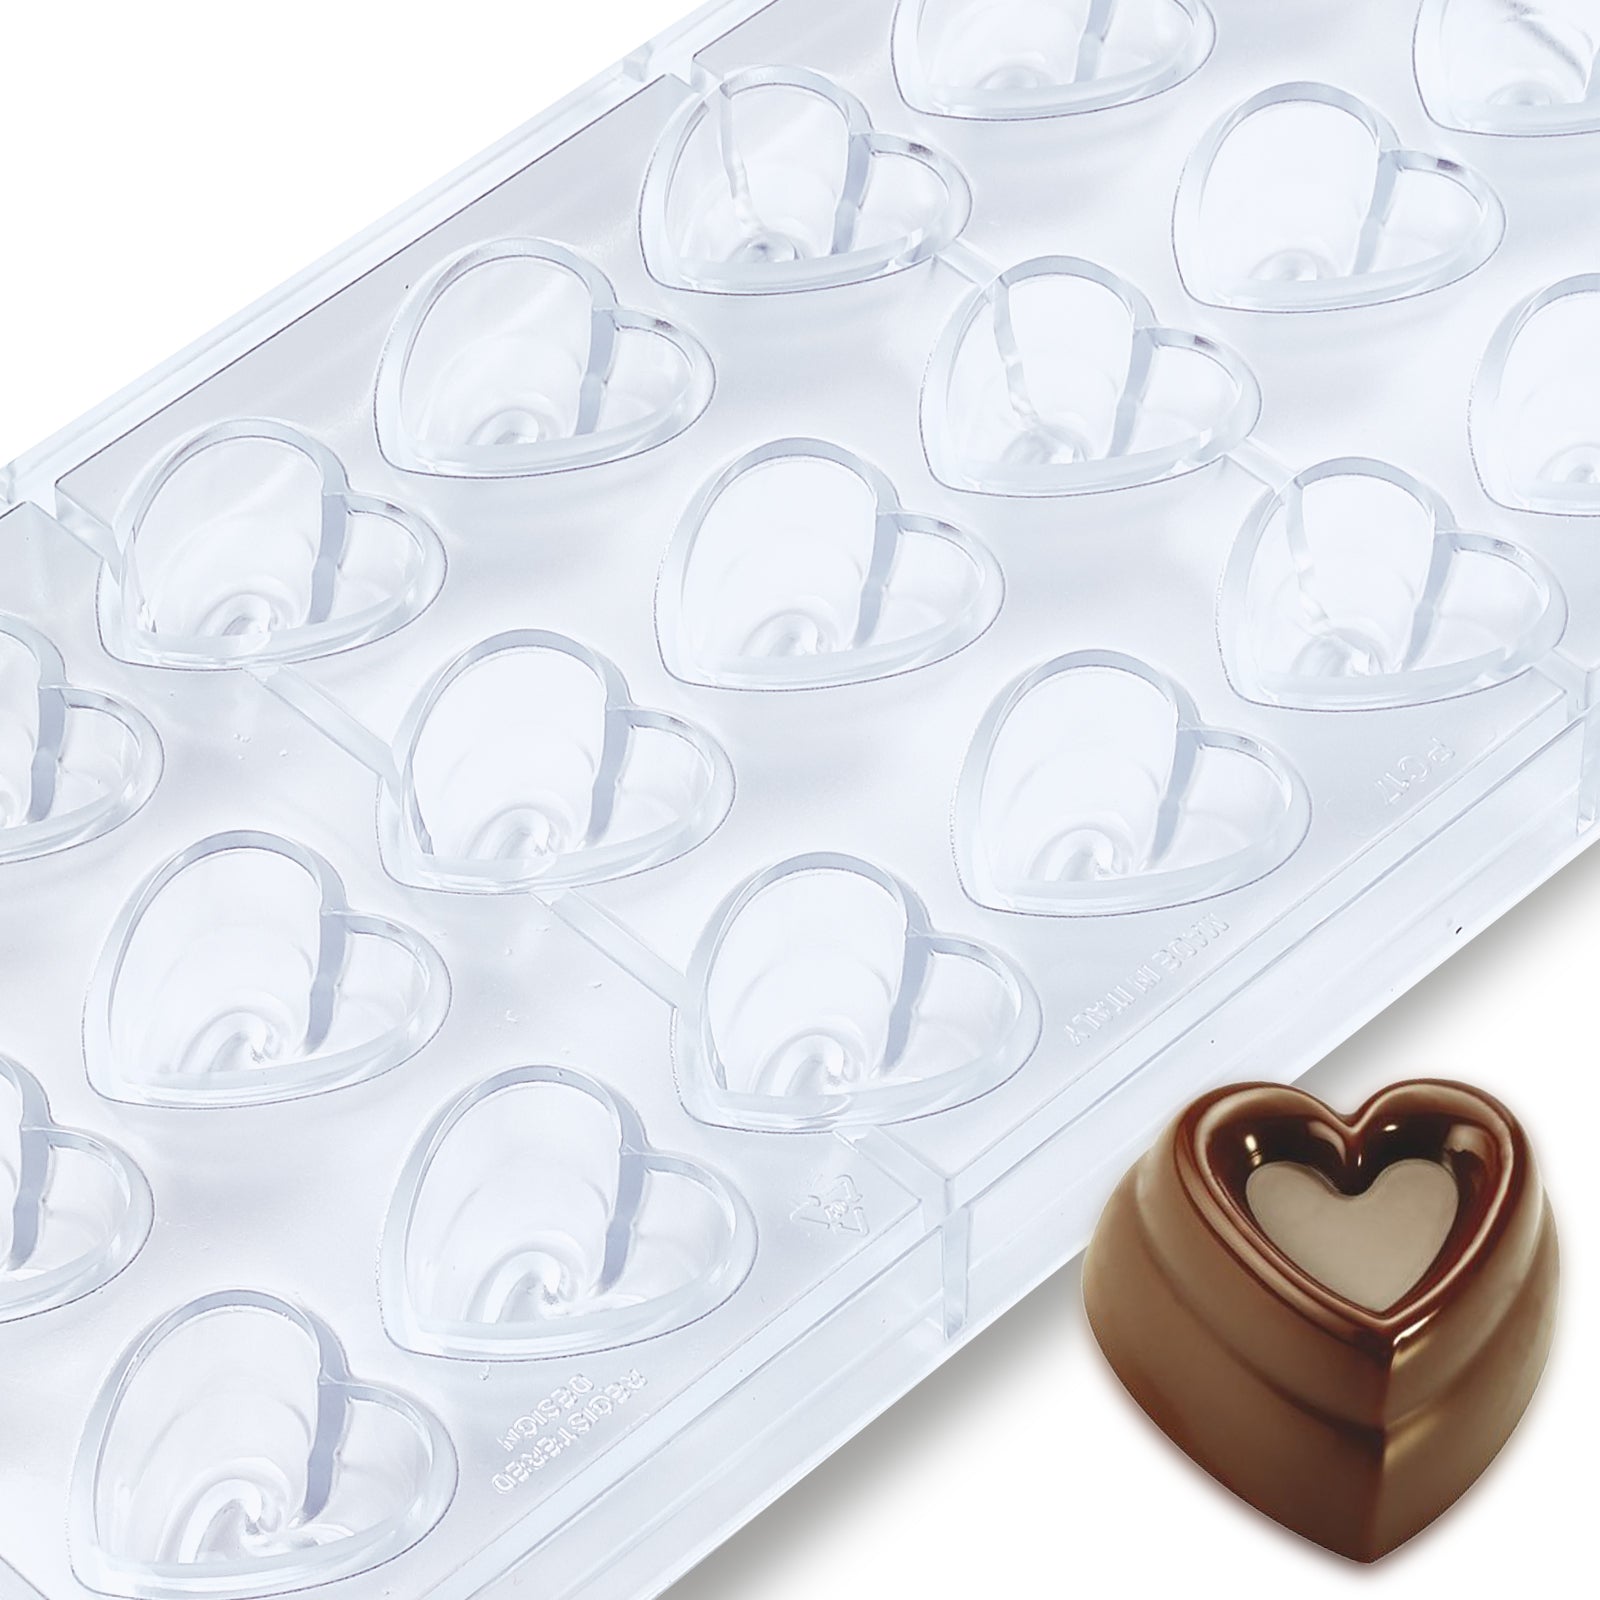 10mL Heart Mold, 21 Cavity, Polycarbonate P1001 Buy Now
 10mL Square Mold, 24 Cavity, Polycarbonate P1010 Buy Now
 10mL Round Mold, 21 Cavity, Polycarbonate P1002 Buy Now
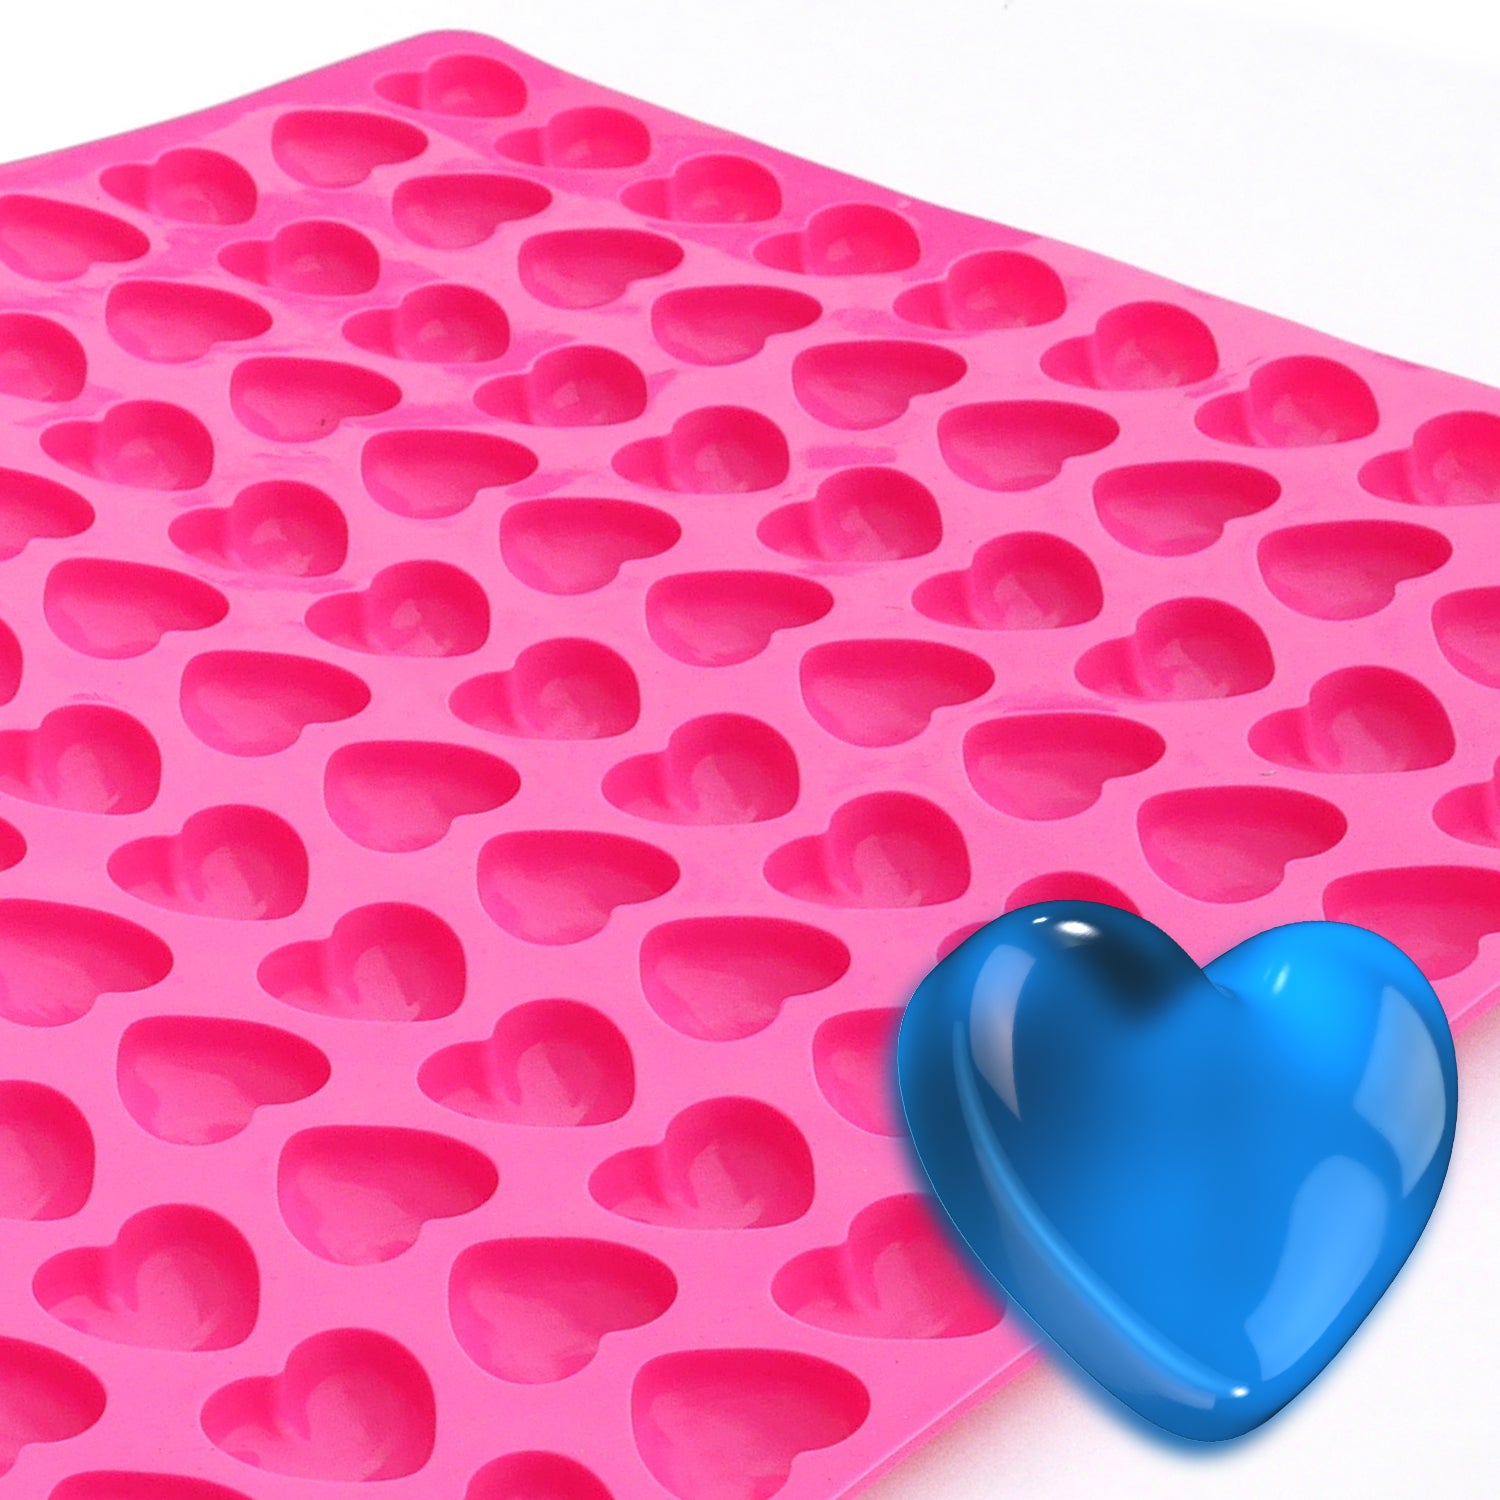
 Square Silicone Candy Mold Buy Now
 Heart Chocolate Mold Candy Buy Now
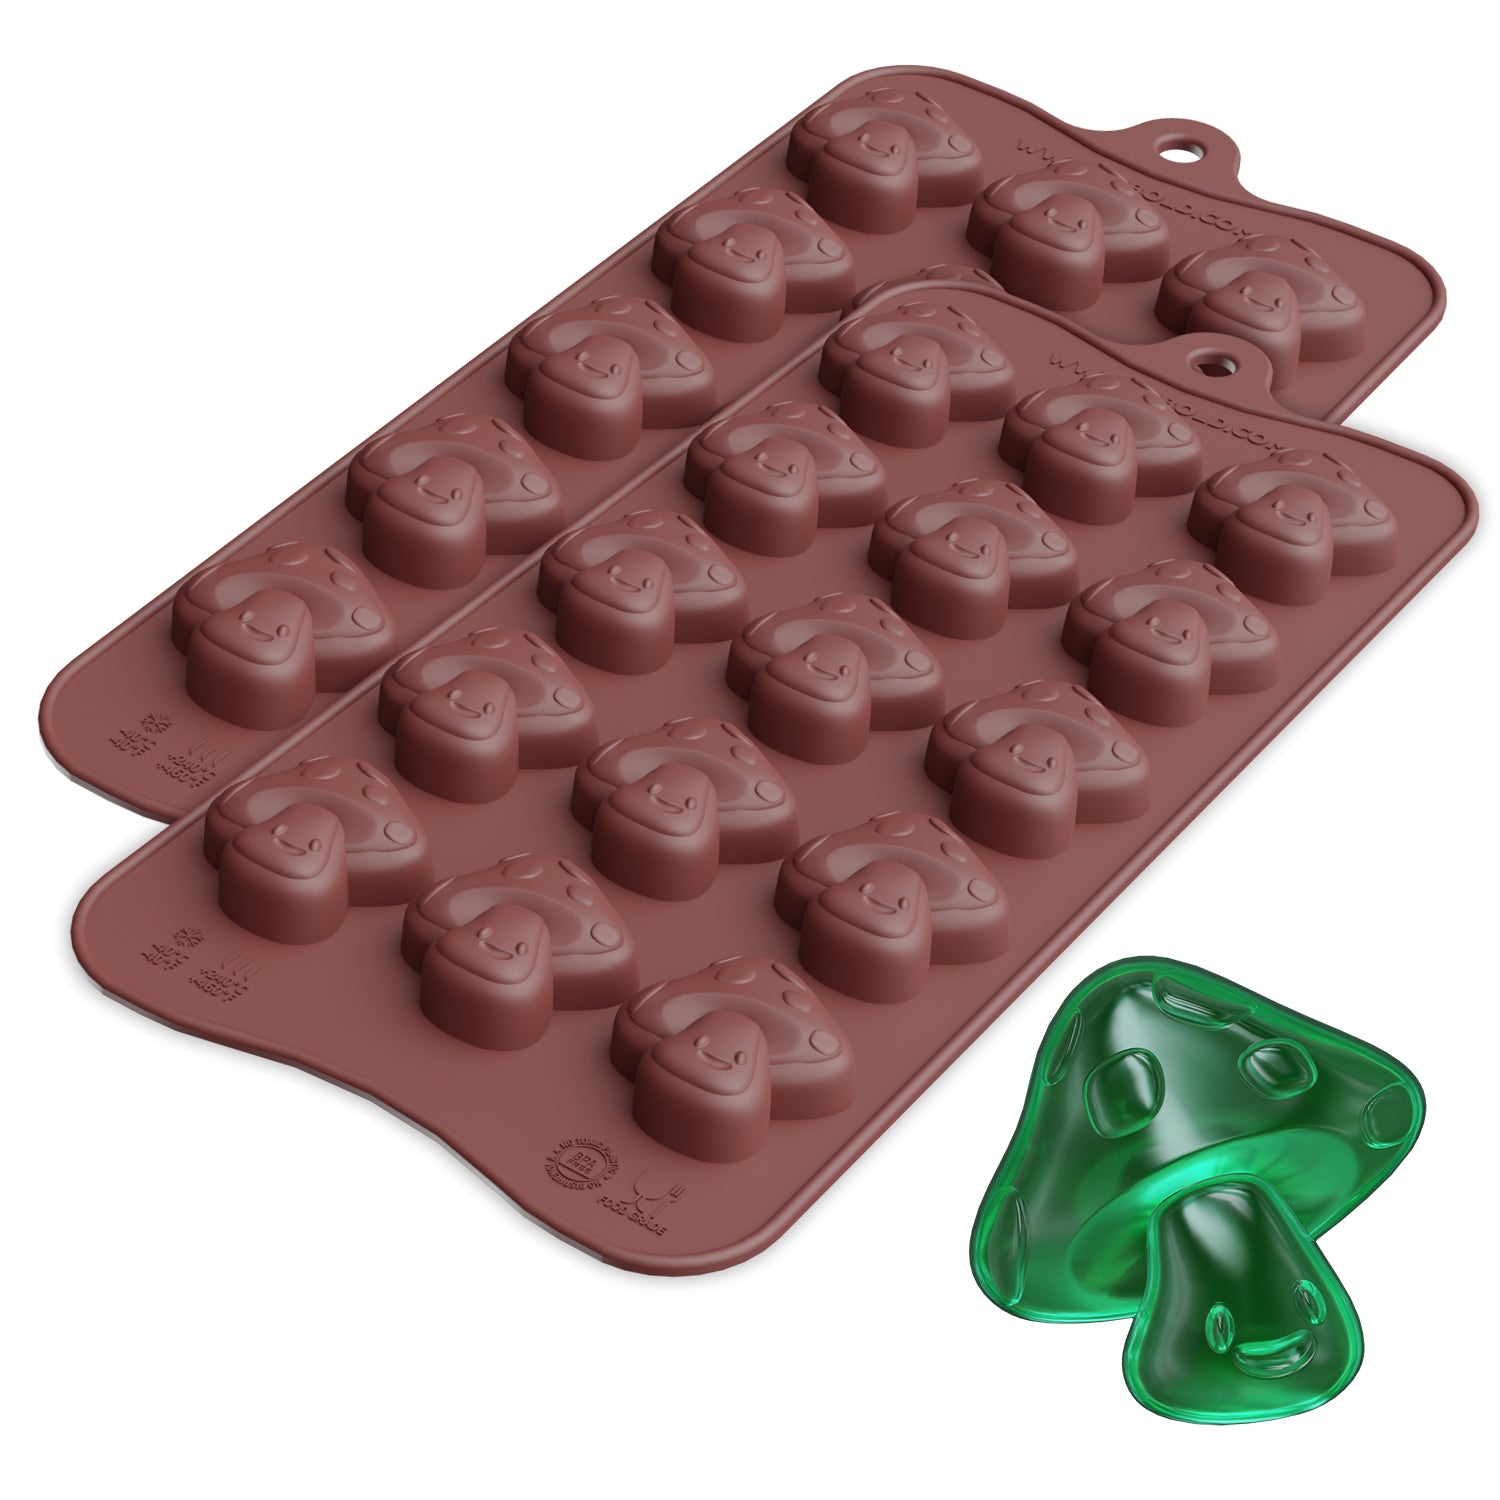 Mushroom Chocolate Silicone Candy Mold Buy Now
Part 2- How to Choose the Best Chocolate Mold?
Choosing the right chocolate mold is key to achieving perfect results. Whether you need silicone, polycarbonate, or plastic molds, each type offers unique benefits. Let’s explore the best options for your chocolate-making needs.
Types of Chocolate Molds
The material of the mold affects the chocolate’s texture, shine, and ease of release. Here’s a breakdown of the most popular mold types.
Silicone molds are a top choice for beginners and professionals alike. They are flexible, easy to use, and perfect for detailed chocolate designs. It provides its users with
- Non-stick surface
- Durable & reusable feature
- Easy-to-clean property
It’s also worth knowing that making your own silicone molds isn’t as complicated as it might seem.

For professional chocolatiers, polycarbonate molds are the best choice. They give chocolates a glossy finish and allow precise shaping. It gives
- Crystal-clear finish
- Durability & sturdiness
- Better temperature control

-
Plastic Molds
Plastic molds are an affordable option for occasional chocolate makers. The key features that plastic molds provide are
- Lightweight & budget-friendly
- Single-use or reusable
- Variety of shapes
Explore the variety of shapes and sizes available in the Mold Collection List.

Factors to be Considered
When selecting a chocolate mold, consider these essential factors for the best results.
-
Size and Shape
Molds come in various sizes, from bite-sized chocolates to large bars. Choose a shape that fits your needs, personal treats or professional chocolates.
-
Material and Flexibility
Silicone molds are flexible and easy to use, while polycarbonate molds provide a more structured, professional finish. Select a material based on your experience and chocolate-making goals.
-
Ease of Cleaning
Cleaning is crucial to maintaining the quality of your molds. Silicone molds are dishwasher-safe, while polycarbonate molds should be hand-washed with mild soap and warm water.
For more detailed tips on cleaning silicone molds, check out our guide on how to clean silicone molds effectively.
Where To Buy Chocolate Molds?
Choosing the right chocolate mold is just as important as selecting quality chocolate. While many options are available, not all molds offer durability, safety, and precision.
For premium chocolate molds, PJ Bold is the top choice. Their molds are crafted with food-safe materials, designed for durability, and available in unique shapes.
If you're looking to get your hands on these molds, there are several trusted sources where you can find these molds options suited to your needs.
Key Features of PJ Bold Chocolate Molds
PJ Bold molds stand out for their exceptional quality and reliability. Here’s why they are the best choice.
-
Wide Variety of Molds
PJ Bold offers an extensive range of molds, including silicone, polycarbonate, and custom molds. Whether you want classic chocolate bars or creative shapes, they have it all.
-
Food-Safe and BPA-Free
All molds are FDA-approved and BPA-free, ensuring safe and high-quality chocolate-making. You can create treats with confidence, knowing they meet food safety standards.
For detailed information on regulations and best practices, please review the Food Safety Standard.
-
Customization Options
PJ Bold offers custom mold services, allowing you to create personalized designs for your chocolates.
-
Highly Rated by Customers
With over 1 million molds sold, PJ Bold has earned a reputation for quality and customer satisfaction. Chocolatiers trust their molds for perfect results.
Discover our most popular designs, browse the Best-Selling Chocolate Molds.
Get professional-quality chocolate molds for your next creation. Shop at PJBold today and turn your chocolate ideas into reality!
Even with the best molds, mistakes can happen. Let’s avoid the most common ones!
Turn your ideas into art with our best silicone molds – Enjoy Up to 45% Discounts!
Shop NowPart 3- Common Mistakes to Avoid While Using Chocolate Molds
Even with the best molds, mistakes can happen. Small errors can affect the chocolate’s shape, texture, and shine. Understanding these mistakes can help you achieve flawless results every time.
Major Mistakes to Avoid
To get perfect chocolates, avoid the following common mistakes.
-
Not Cleaning the Mold Properly
Chocolate molds must be completely clean and dry before use. Any dust, grease, or moisture can cause imperfections. Wash with warm water and mild soap, then dry them thoroughly with a soft cloth.
-
Using Low-Quality Chocolate
Cheap chocolate contains excess fats and stabilizers, leading to dull and uneven chocolates. Always use high-quality, tempered chocolate for the best shine and snap.
-
Skipping Tempering (For Real Chocolate)
The chocolate may turn soft, streaky, or sticky if tempering is skipped. Keep the temperature between 31-32°C for dark chocolate and 30-31°C for milk/white chocolate. If using candy melts, you can skip this step.
You can find the complete instructions, including tempering details, in the Homemade Chocolate Recipe.
-
Overfilling or Underfilling the Mold
Overfilling leads to messy edges, while underfilling produces thin, fragile chocolates. Use a piping bag or spoon for better control and gently tap the mold to remove air bubbles.
-
Removing Chocolates Too Early
If you remove chocolates before they are fully set, they might break or lose their shape. Let them chill for at least 15-20 minutes in the fridge before unmolding.
For more tips on choosing and using molds effectively, check out our comprehensive Guide to Chocolate Molds to ensure the best results every time.
Part 4- How to Clean and Store Chocolate Molds?
Proper cleaning and storage of chocolate molds help maintain their quality and extend their lifespan. Following the right cleaning techniques prevents residue buildup and ensures perfect chocolates every time.
For a detailed guide on cleaning silicone molds, check out this blog: How to Clean Silicone Molds.
Follow the below-mentioned pre-cautions for effective cleaning without damaging the molds.
- Wash Immediately After Use
- Use Warm Water and Mild Soap
- Avoid Scrubbing or Scratching
- Rinse Thoroughly
- Dry Completely
How to Store Chocolate Molds?
Proper storage keeps molds in perfect condition for future use. Follow these tips:
- Store molds flat on a flat surface to prevent bending or warping.
- Avoid stacking: If stacking is necessary, place a soft cloth between molds to avoid scratches.
- Store in a cool, dry place: Keep molds away from heat and direct sunlight to prevent damage.
- Use airtight containers: This prevents dust, dirt, and odors from affecting the molds.
By following these cleaning and storage steps, you can extend the life of your chocolate molds and achieve flawless chocolates every time!
Conclusion
Mastering how to use chocolate molds is the key to creating smooth, perfectly shaped chocolates every time. By following the right steps you can achieve professional results at home.
Whether you prefer silicone, polycarbonate, or plastic molds, selecting the right one can greatly affect the final look and texture of your chocolates.
Explore the best collection at PJ Bold for premium-quality chocolate molds designed for easy use and durability.
Frequently Asked Questions
Should I Grease Chocolate Molds Before Filling Them?
No, you don’t need to grease chocolate molds. If your chocolate is tempered correctly and the mold is clean and dry, the chocolates will pop out easily.
Why Do My Chocolates Look Dull Instead of Shiny?
A dull finish usually happens due to moisture or improper tempering. Ensure your mold is completely dry and your chocolate is tempered correctly for a glossy look.
Which Type of Mold Is Best for Making Chocolate?
Polycarbonate molds give chocolates a smooth, professional finish, while silicone molds are more flexible and easier to use, especially for beginners.
How Do I Remove Air Bubbles from Chocolate Molds?
After pouring the chocolate, gently tap the mold on the counter a few times. This helps bubbles rise to the surface and disappear.
How long should I chill chocolates before removing them from the mold?
Let chocolates set in the fridge for 15-20 minutes or until completely firm. If they don’t release easily, leave them a few minutes longer.


